
Previously, I have been drawing and animating the first few scenes of my animation before continuing the following week and the week after to finish the rest of my project off.
As I have been drawing more scenes, I have been using a variety of filters and an effect to help with animating scenes and colouring objects to make them stand out. The information below will explain which effects inside of Adobe Animate I have used and the rest will cover what all of the scenes now look like along with the completed animation:
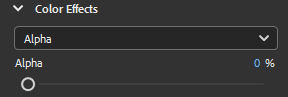
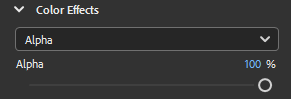
Colour Effects (Alpha)
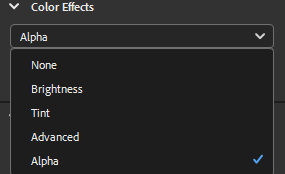
The purpose of the Alpha colouring effect is to change the transparency of different objects using a slider which has been useful for me to make objects invisible or faint. In order to do this, the object must be a converted into a symbol as a motion tween cannot be created if drawn objects haven’t been converted into symbols. Also, if more than one object has been converted into a symbol, a motion tween cannot be created without both objects being merged together. It becomes annoying if there are hidden objects when trying to create a motion tween on the timeline for only one object whether or not the brush tool was used by mistake to create a singular dot inside or outside the scene. The following pop up will appear if this happens:

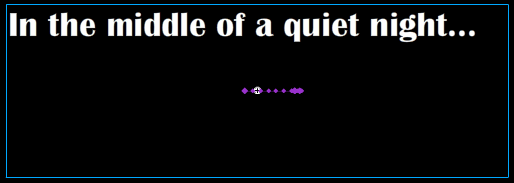
An example of using the Alpha effect is making text fade in or out. Making an object invisible would require the slider to be set to 0% and making it visible again would require the slider to be set back to 100%. I’ve used this as the start of the animation that I’ve created.

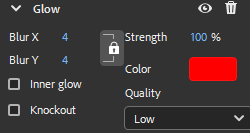
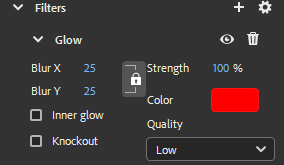
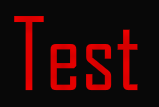
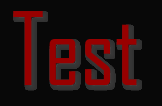
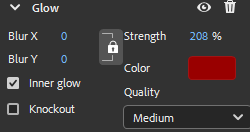
Filters (Glow)
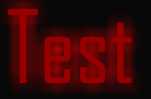
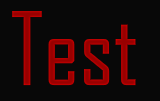
The glow filter makes an object/symbol glow whether it is from the outside or inside. Depending on the strength and blur in the options, it can make the object/symbol brighter glow brighter or dimmer than usual. The knockout option will remove colour in the middle of the object/symbol but emit the glow around it depending on the colour that has been chosen. I’ve used the text tool to create letters to use as an example of how this filter works:


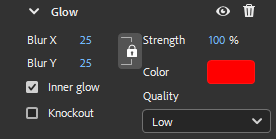


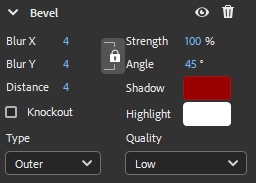
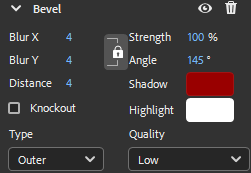
Filters (Bevel)
The bevel filter creates highlights and shadows for objects/symbols in any colour that is available rather than being limited to black for shadows and white for highlights. Again, I have used red as the main colour for this example so in this case, it will act as the shadow and white as the highlights around it. What the highlights actually does is copy the text/shape of the object and places it over the edge of the object/symbol or behind it depending on which type of bevel is chosen (inner or outer). The distance and angle can also be adjusted to move the highlights and shadows to a different location around the object/symbol. Here are tests of using the bevel filter for these symbols below:


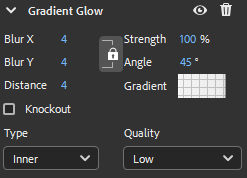
Filters (Gradient Glow)
The gradient glow filter is similar to the bevel filter except it is limited to white and black gradients which can be adjusted to create darker or lighter glowing effects inside or outside of the symbol or shadows inside or outside of the symbol.


Combining the filters
I have experimented which each of three filters that I have used for the animation and used all three to make an object stand out which is the title of my animation which I have named “The Crimson Jewel”. As a bonus, I decided to make transform the title to make it slanted to one side and added a jewel on a separate layer for the dot of the letter “I” in “Crimson”. Here is the result of using these three filters together along with the settings I have used to achieve this:


Completed Scenes (Coloured)
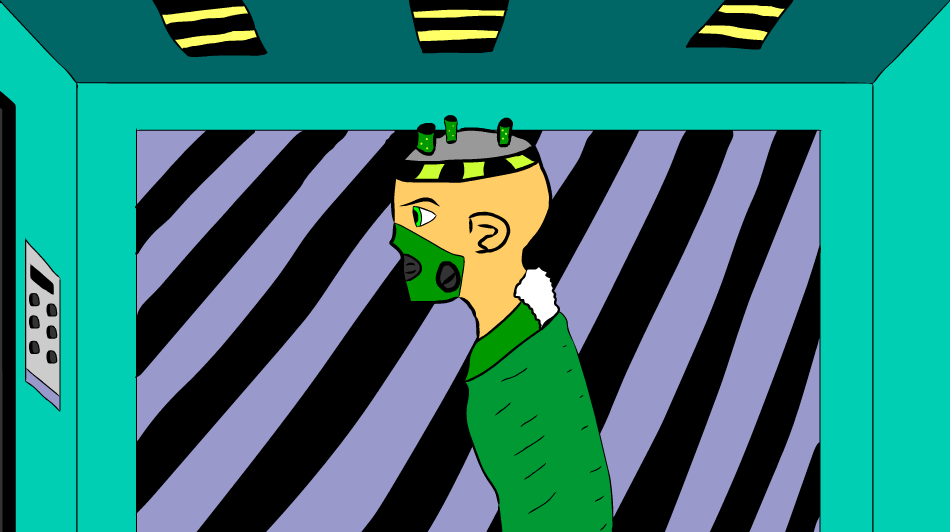
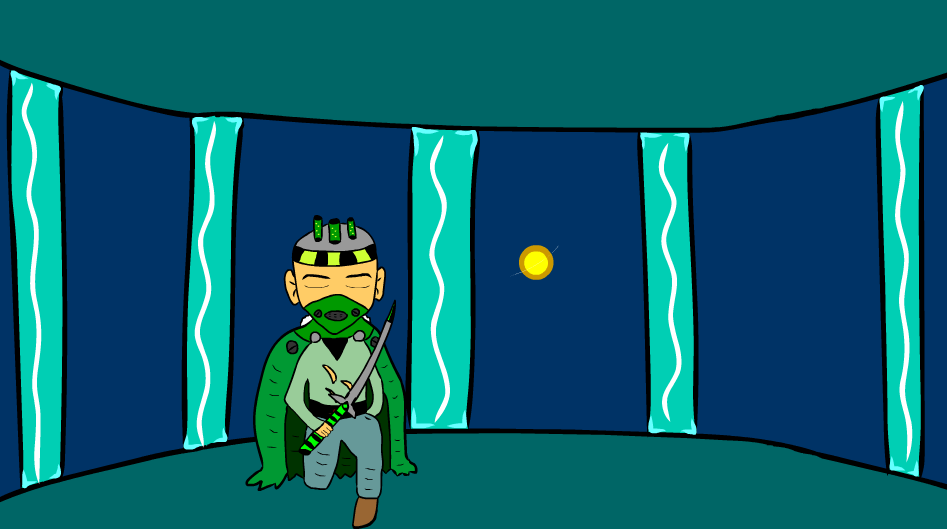
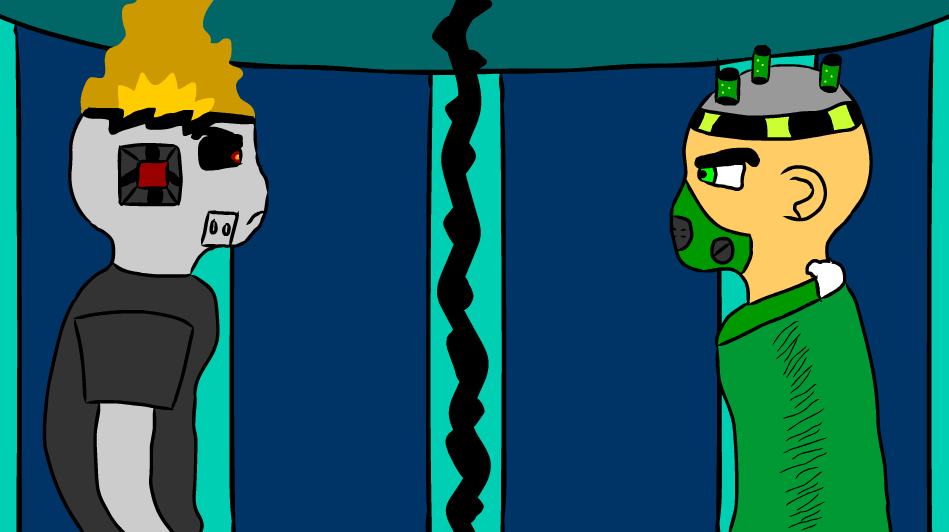
During last week and this week, I have been drawing and animating the rest of the scenes which has finally been completed. Here are the completed scenes (including scenes that wasn’t shown originally as storyboard cells):
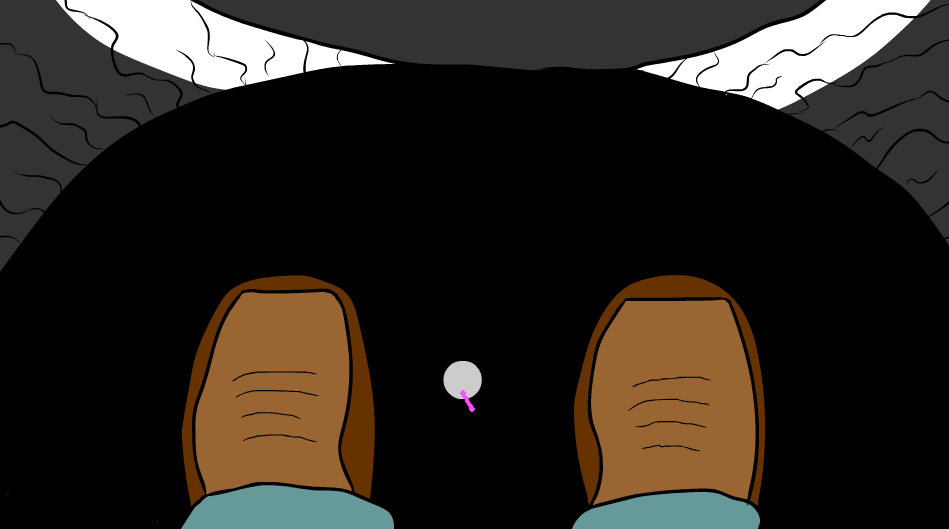
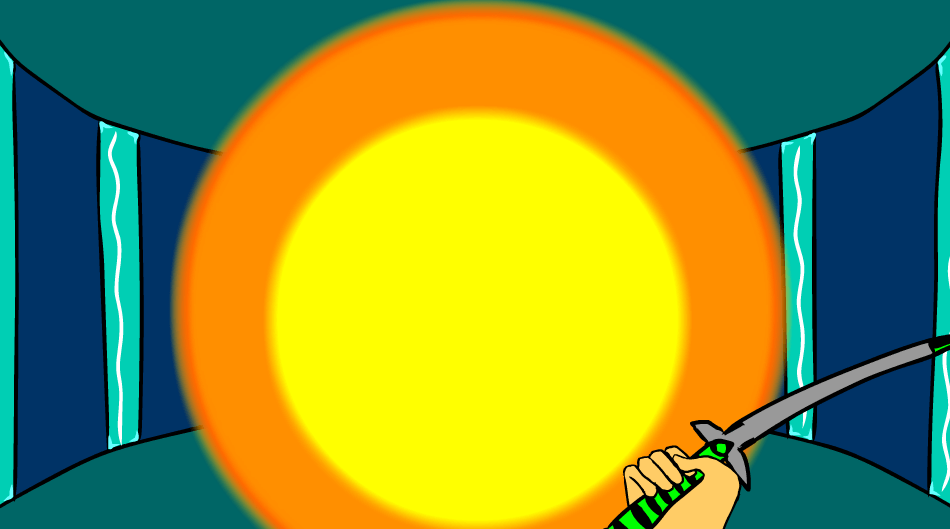
Introduction

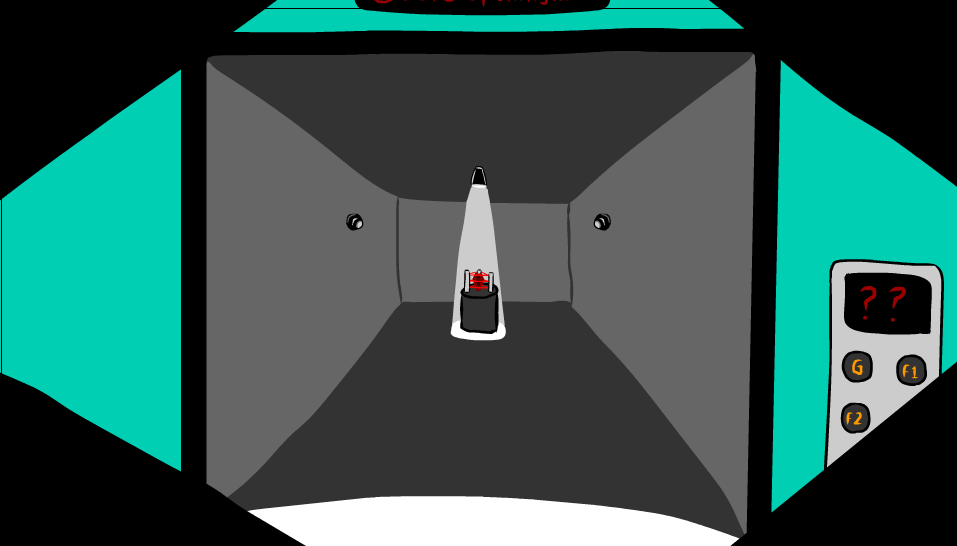
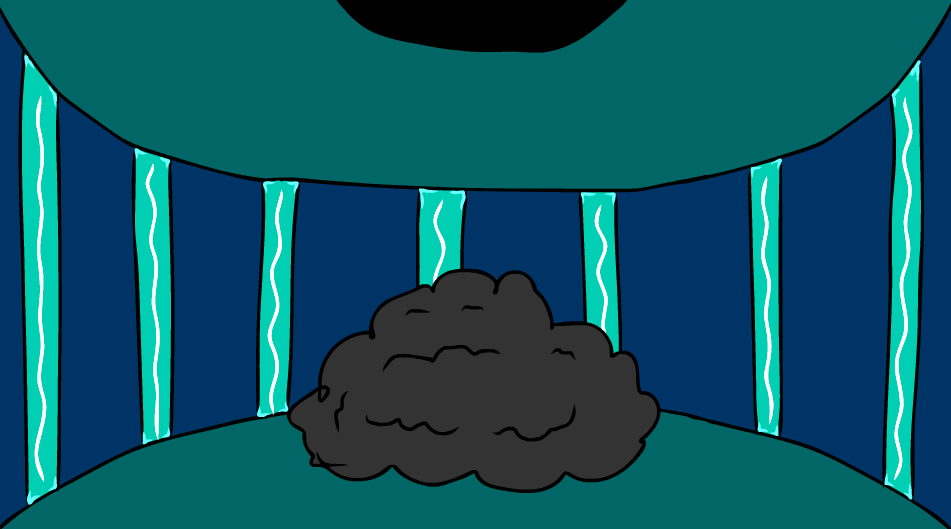
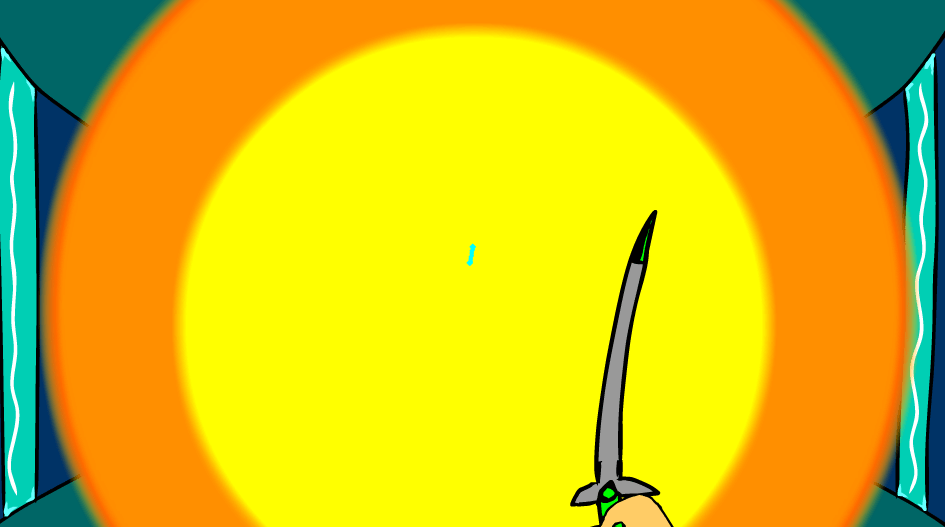
Scene 1

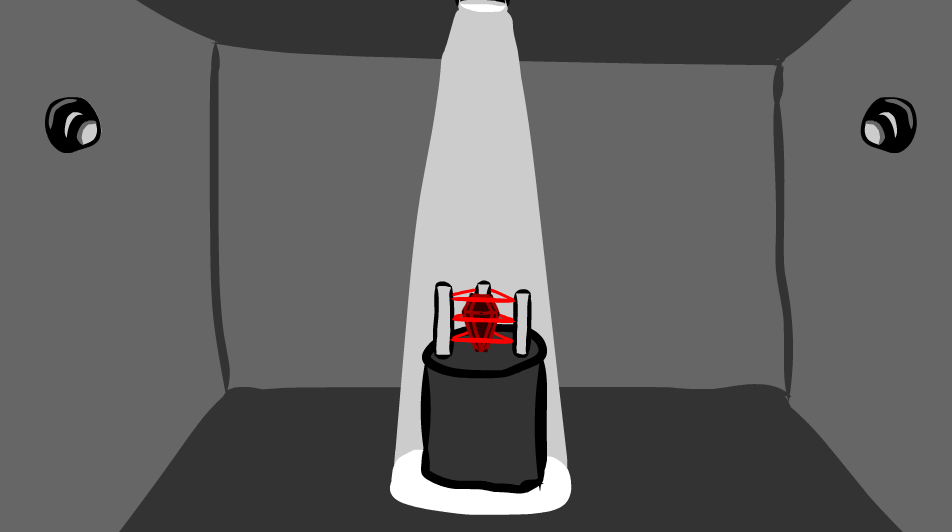
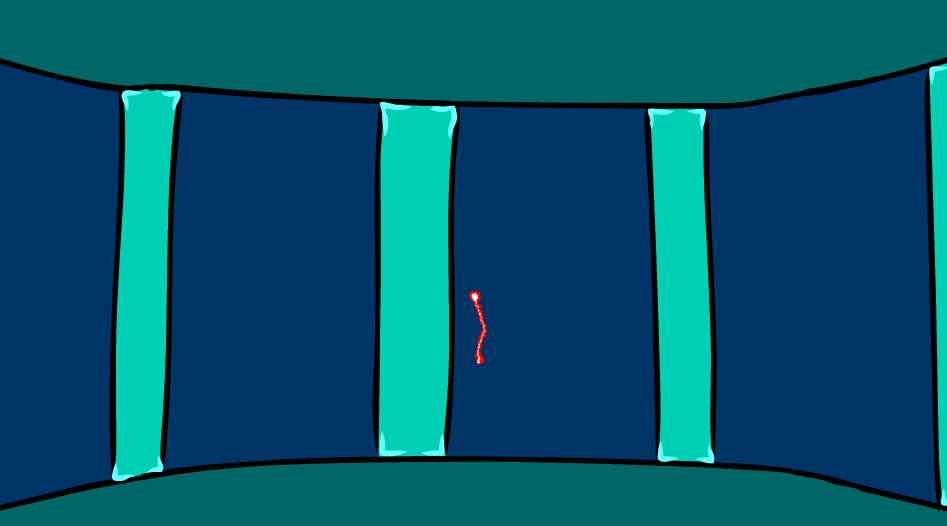
Scenes 2 and 3


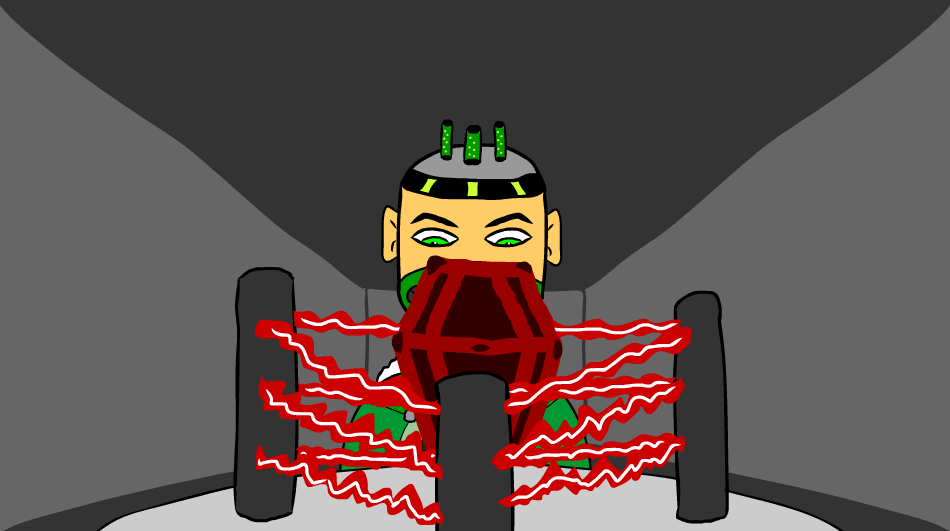
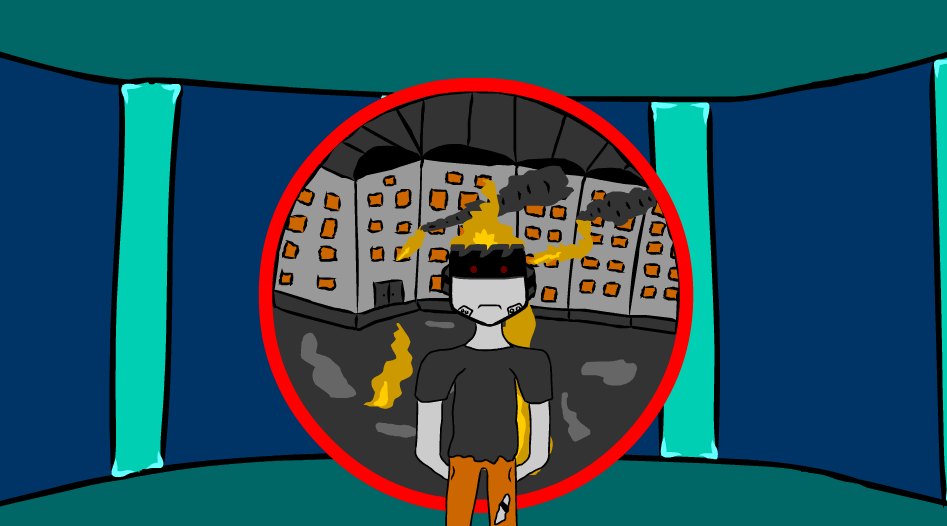
Scene 4

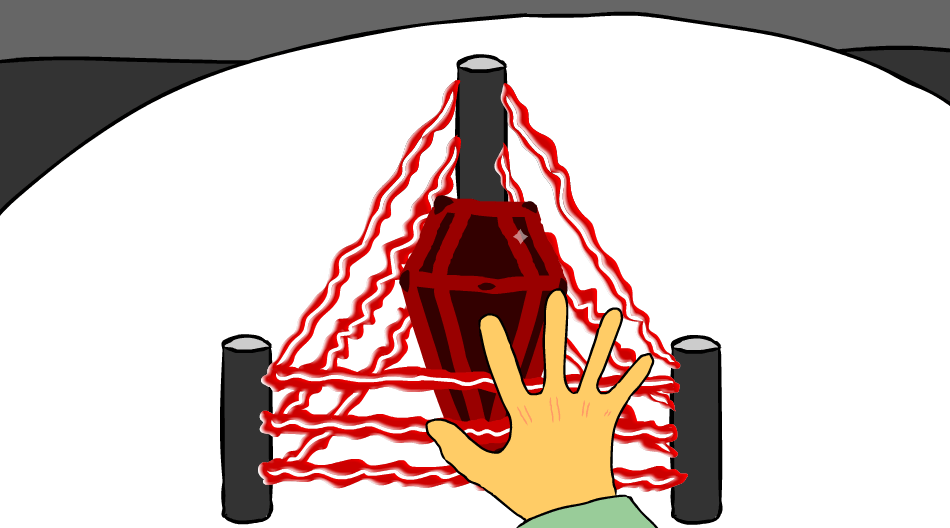
Scene 5

Scene 6

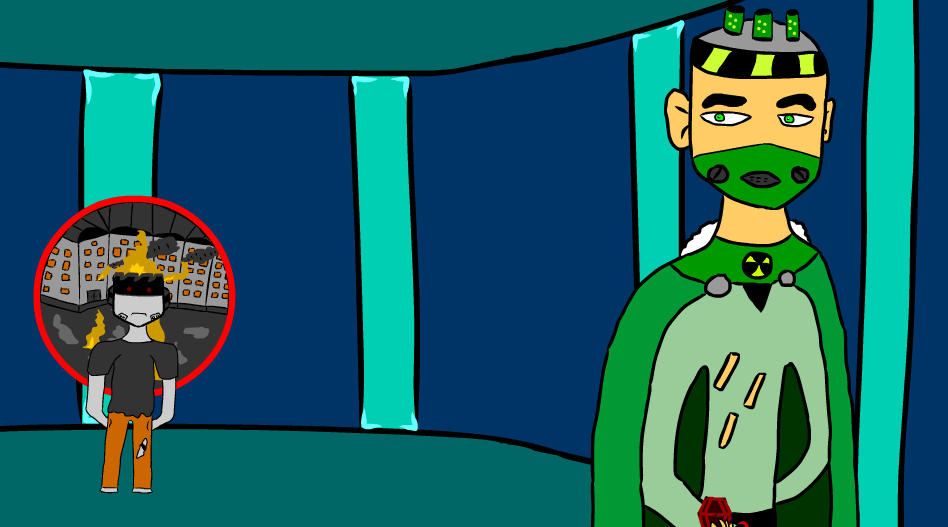
Scene 7


Scene 8

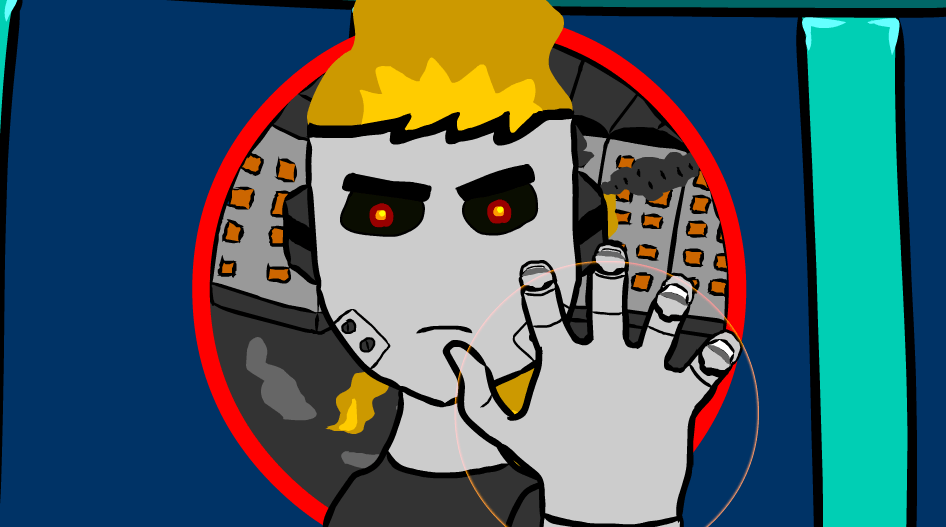
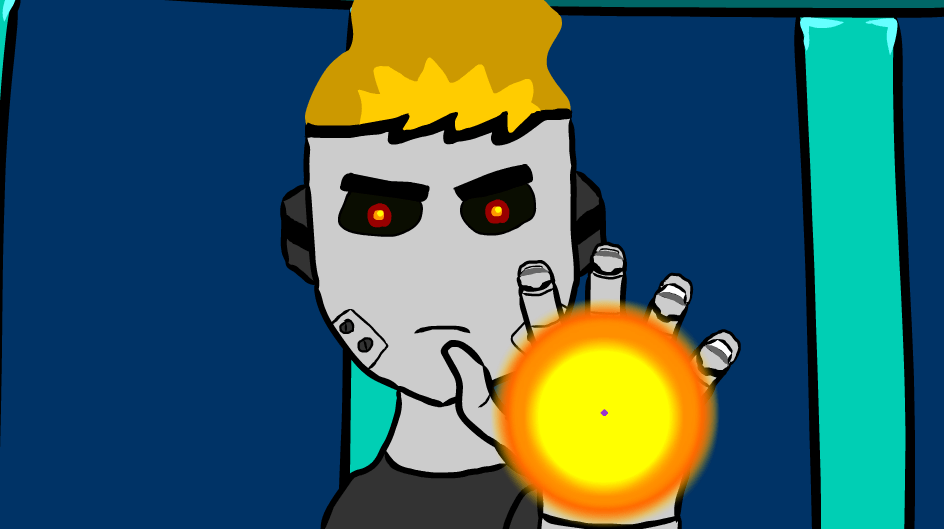
Scene 9


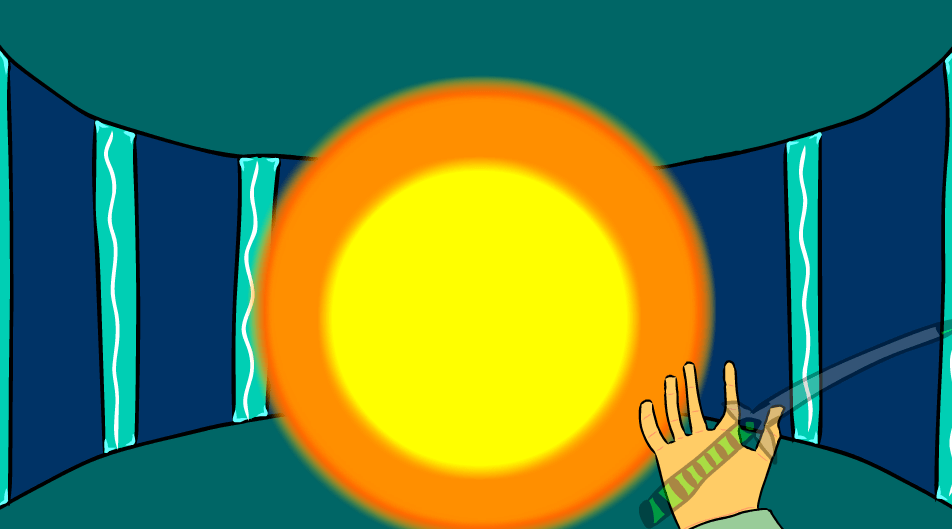
Scene 10
Scene 11


Scene 12
Last Scene


Full Animation and Poster
