
Using my concepts and storyboard, I have begun drawing and animating the first few scenes with the tools that Adobe Animate provides like the brush tool which is commonly used to draw freely with smoothing enabled to create smoother strokes rather than bent strokes.
Fluid Brush Tool
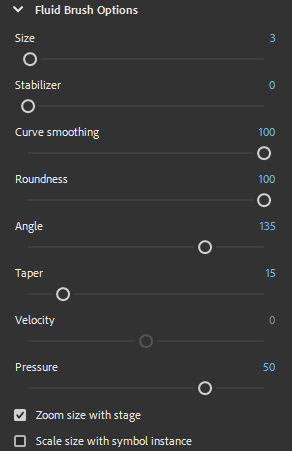
There is another version of the brush tool I have been experimenting with which is called the Fluid Brush Tool which acts similar to the regular brush tool except there is more options for it such as curve smoothing, stabilizer, pressure, and roundness. With these options, the brush becomes more of a paint brush which can apply little pressure creating small dots to large strokes depending on how long it is. The options can be customized a lot to create different types of paint strokes.
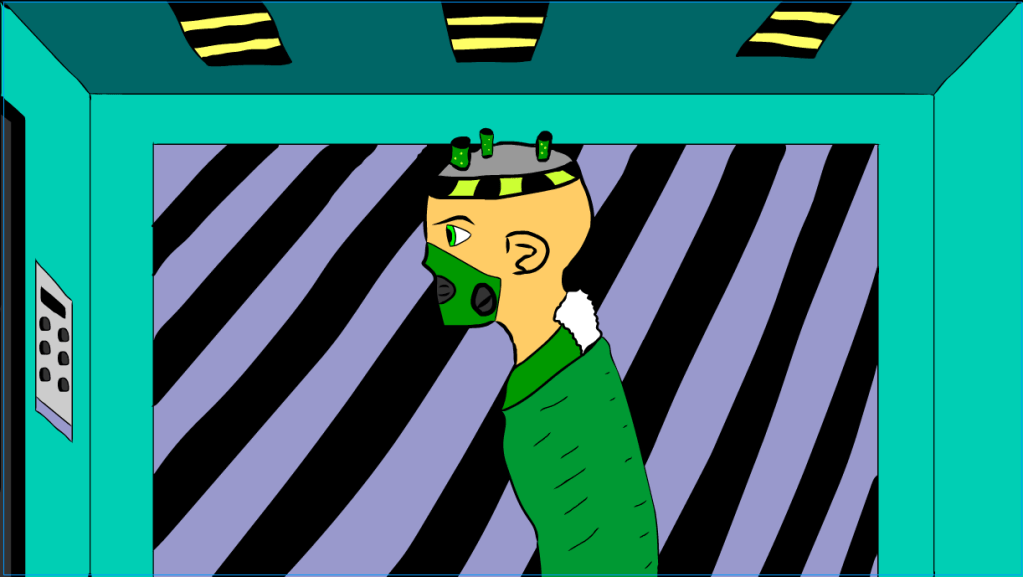
For example in my first scene, I have used the Fluid Brush Tool to draw my character and I have also reduced the size of the strokes to create the background and smaller parts. Here is the pre-set I have created for the fluid brush tool to draw my scenes:
Coloured Scenes (so far)


At this point, not every scene is complete so I’m working on drawing and animating the scene that I’m currently up to and the rest of the scenes will be worked on after that.
Drawing practice and video reference


For one of my scenes, I wanted to capture a more menacing look for one of my characters but unfortunately I didn’t know how to do it so I tried practicing drawing my character’s face and body in a low angle with help of a tutorial which covers drawing in hard angles which is what I’ve used as a reference.
Here in this screenshot, this content creator shows the basic outline of how to draw the character’s head and the guidelines for where the eyes will sit.
Reference to source
Whyt Manga. (2019). Drawing Anime & Manga FACES Viewed FROM BELOW! HARD ANGLES!. [Online]. YouTube. Last Updated: 15 July 2019. Available at: https://www.youtube.com/watch?v=GLAap-xx1xk [Accessed 27 May 2024].
