
Copying over modifiers
I learnt to copy modifiers such as the mirror modifier by first selecting objects that I want to copy the mirror modifier over to, selecting the objects that already have the modifier using Shift + Left Click, and pressing Ctrl + L to bring up options for linking/transferring data (in this case, I clicked Copy Modifiers which will mirror multiple objects that are highlighted in a dark orange colour).

As an example, I started creating a character as a test to showcase how I can mirror multiple objects using keyboard shortcuts.
Loop Cuts
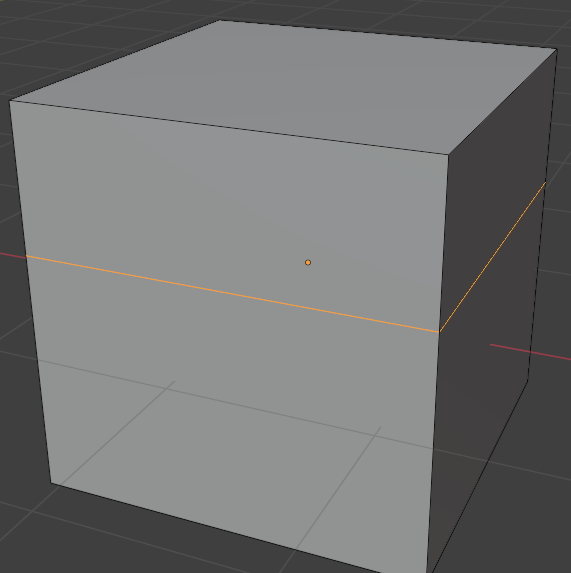
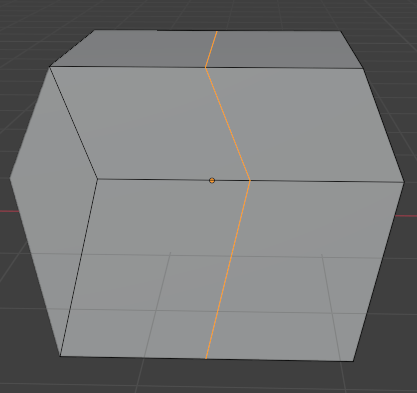
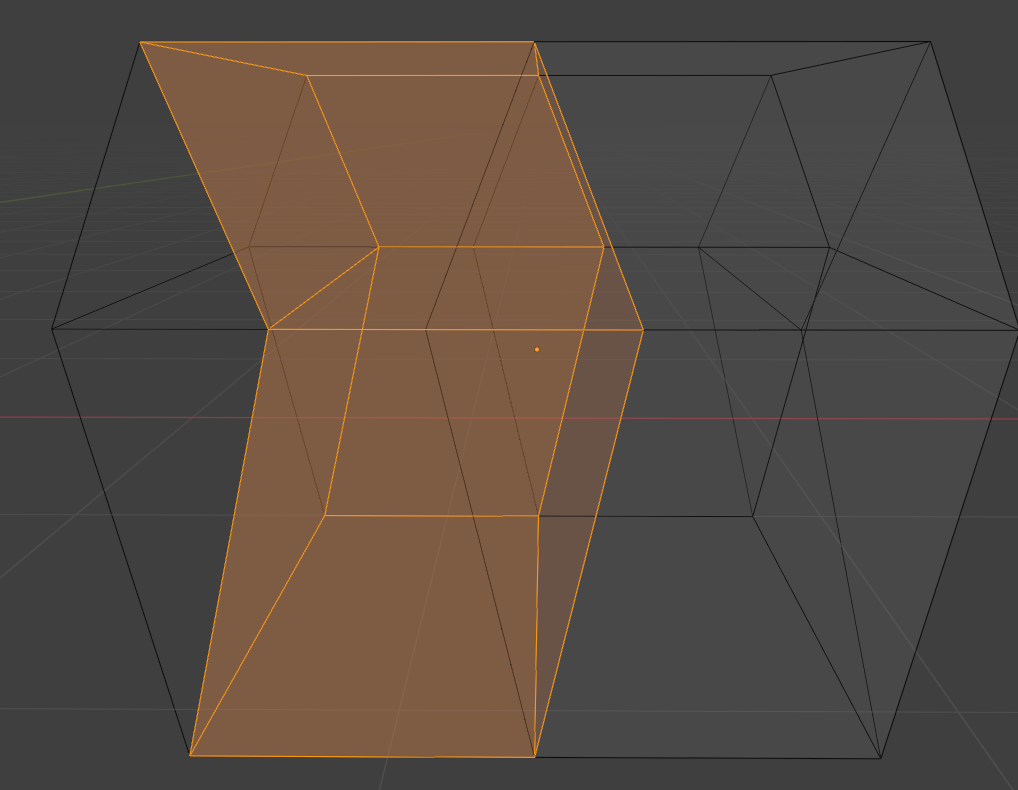
I created loop cuts using the keyboard shortcut Ctrl + R (one horizontally and one vertically) and moved one side of the face of the cube outwards using G and X keys to create part of the character’s torso. I used the wireframes to select half of the cube (highlighted in orange) and deleted only the faces which results in creating a gap in between.
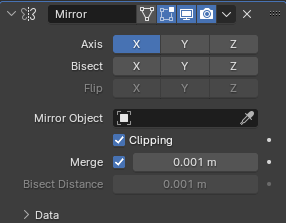
Clipping Vertices Together
After creating the gap, I selected vertices on both sides of the cube and moved them inwards until they cross over. That’s when I ticked the clipping option in the mirror modifier and used G and X to move the vertices in the opposite direction until the snap together to the origin point of the cube.


Finishing the torso and creating more parts
To finish off the character’s torso, I selected the edges at the front, side, and top of the torso using G and X/Y/Z to give it more detail.

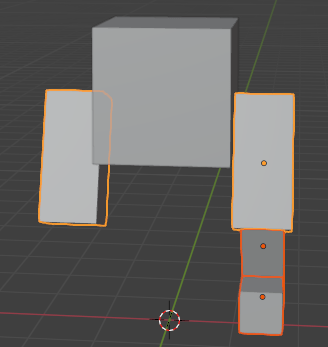
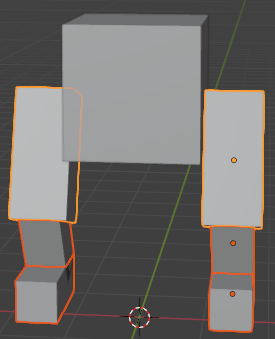
I repeated the process for creating more parts except I don’t need to delete more faces, I reshaped them. This is what they look like attached together (without the head and hands):

Reference to tutorial:
Part 5: Grant Abbitt. (2021). Blender 3 – complete beginners guide – part 5 – the monster. [Online]. YouTube. Last Updated: 9 December 2021. Available at: https://www.youtube.com/watch?v=kSrqpVZ1raY&list=PLn3ukorJv4vuU3ILv3g3xnUyEGOQR-D8J&index=5 [Accessed 27 February 2024].
