
Lighting


In lesson, I have learnt about different type of lighting such as Directional Lighting, Point Lighting, Spot Lights, Rectangle Lights and Sky Lights. Directional lights are light sources from the sky that is pointed in the direction that it is facing, point lights are light sources that emit light around an area which can be adjusted in a larger radius, spot lights are light sources that create a beam of light that is pointed in the direction that it is facing, rectangle lights are similar to spot lights but are instead create light in a rectangular shape rather than just circular, and sky lights are light sources that create a sphere map.
Materials
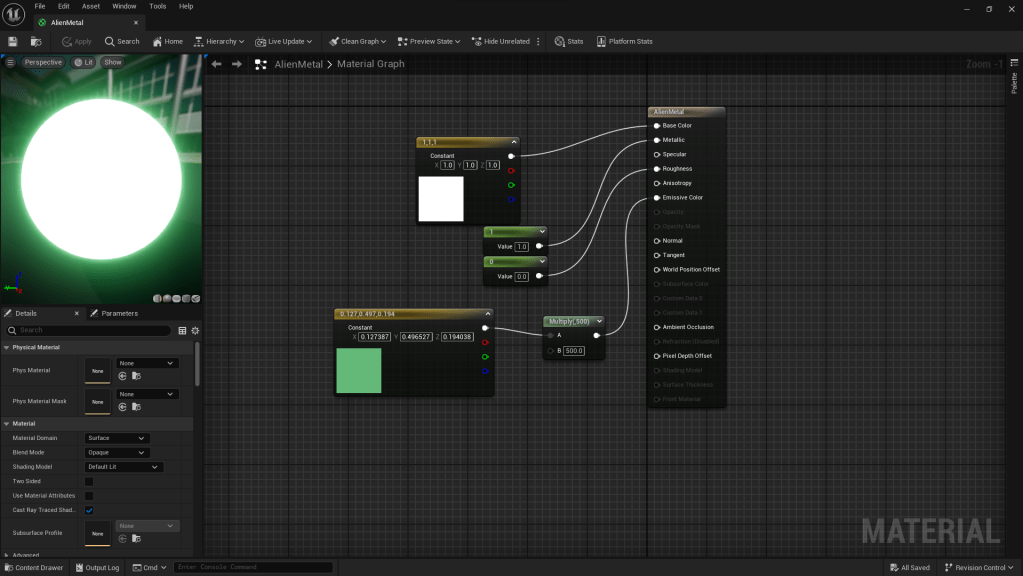
I created materials that can emit light which requires the base colour to be connected to a vector constant, the metal/roughness to be connected to a single value constant (to change how rough, and metallic the material is) and emissive colour to be connected to a vector constant and multiply node and changing the “B” value to 500.
Building my environment

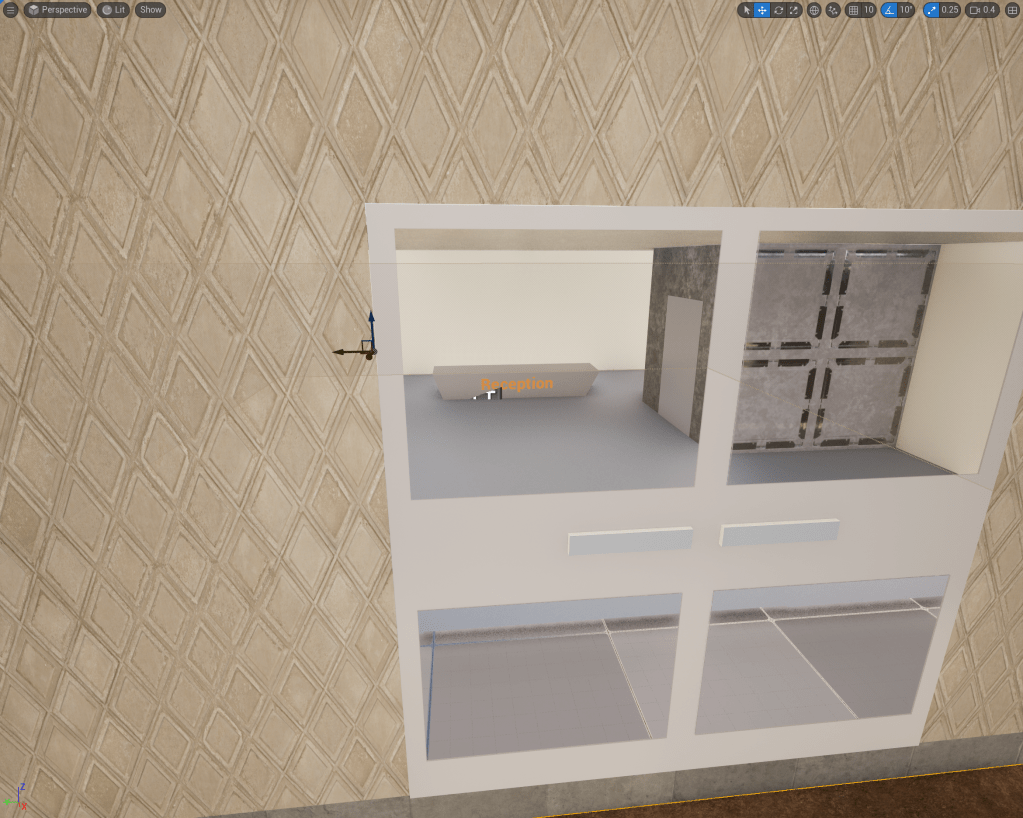
I started with creating a floor using a geometric cube and resizing it before applying an appropriate material to make the floor look unnatural. I also used cubes to create cuboids that would stack on each other (getting smaller as it goes up) to create my first building of my environment which is a skyscraper. I added detail inside of the building on the ground floor such as a reception desk and elevator.


After, I created instances of the skyscrapers and replaced the landscape material with a different material such as sandstone instead of the classic grid material which is located in the starter content folder inside the content drawer.
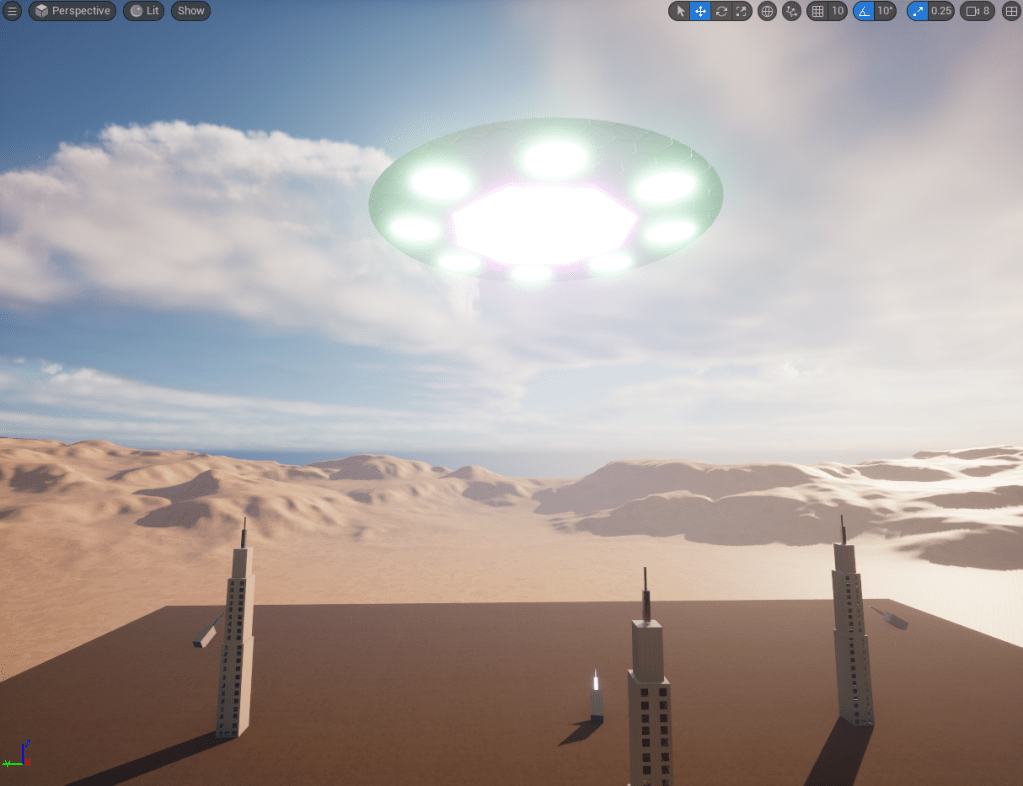
I repeated the process of transforming geometry in order to create the shape for the mothership. I gave it metallic materials and emissive colours (using the material editor) to create its lights to make it look like it is active.
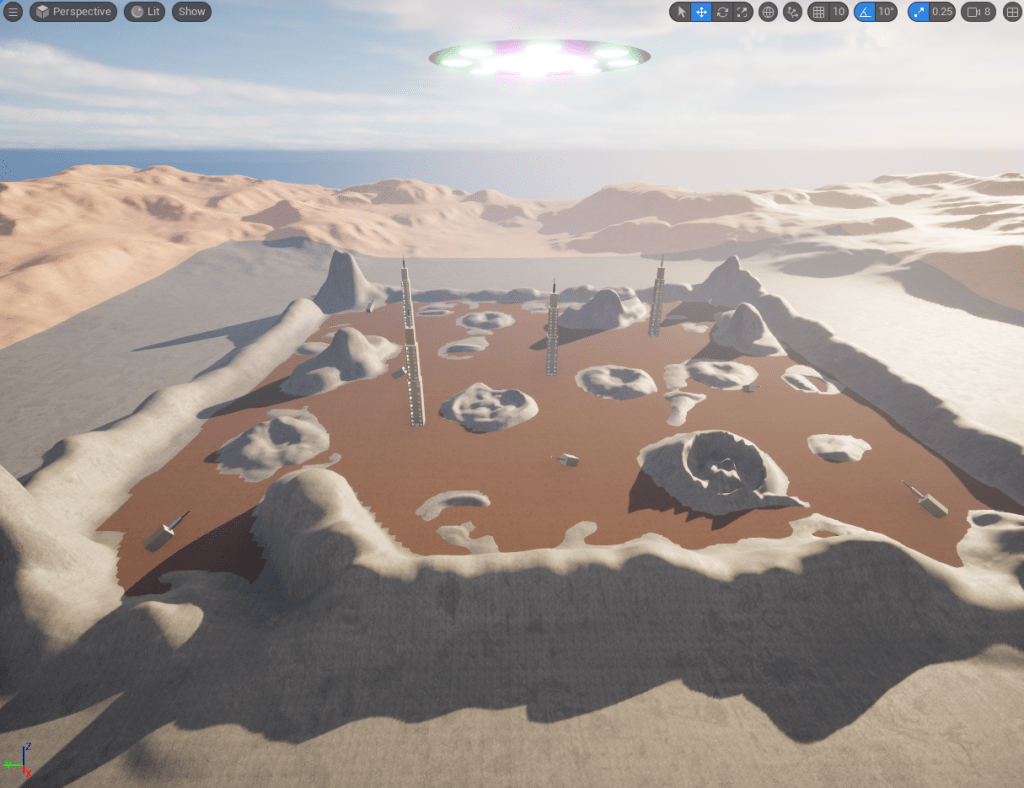
I used the landscape mode to create craters where aliens have been destroying the city and changed the material under the ground to basalt so it can blend in with the environment instead of just using one material for the ground.

Next, I imported appropriate mega scans that would fit with the environment which is a dystopian city such as concrete borders, rusty barrels, electric boxes, and debris. I also included particle effects such as electricity for the electric boxes and fire for the buildings.
Creating a product (Alien) using Blender
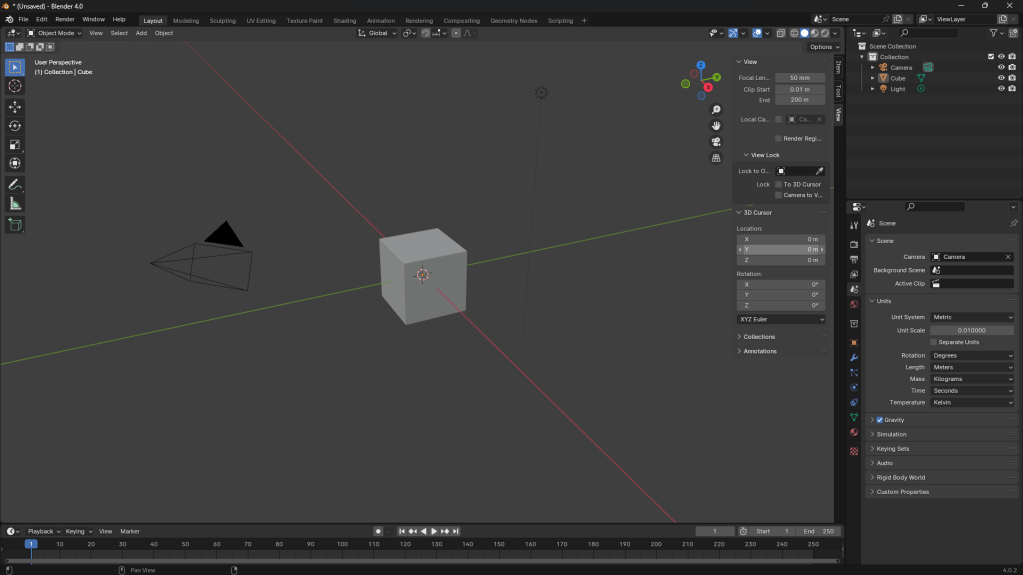
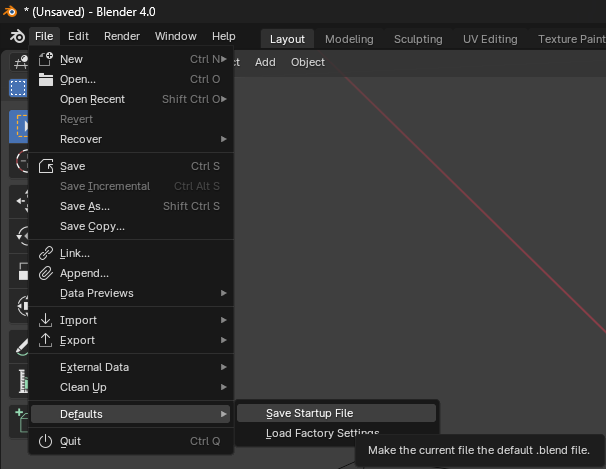
First, I began with changing the unit scale to 0.01 for my scene by going into the properties panel and selecting “Scene” which will show the units drop down menu. That’s when I can change the unit scale to 0.01 which will increase the size of the viewport. To fix it, I clicked the N key to open up the properties region, changed the “Clip Start” to 0.01 m and “End” to 200 m and created a new start up file by going into File -> Defaults -> Save Startup File.
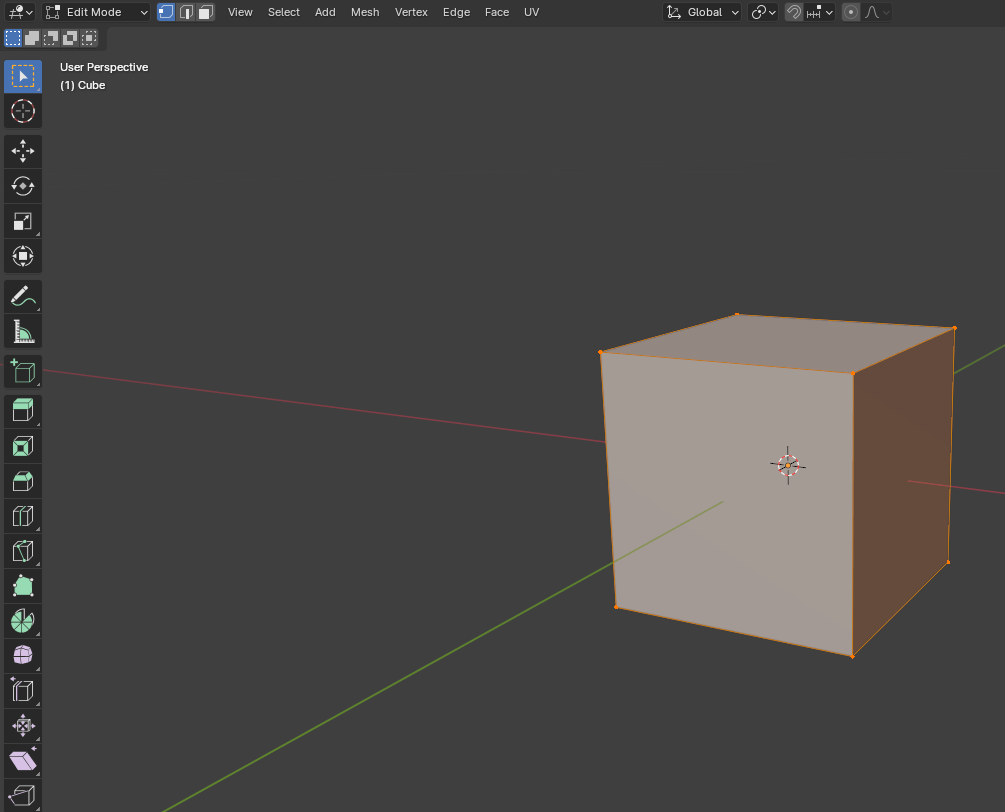


I changed the mode for my product to Edit Mode instead of Object Mode so it would give me more options to transform objects such as Extrude, Bevel, Inset Faces, and Loop Cuts.
The ones that I will be using are Extrude, Bevel and Inset Faces to change the shape of an object and creating new faces for them before extruding inwards.
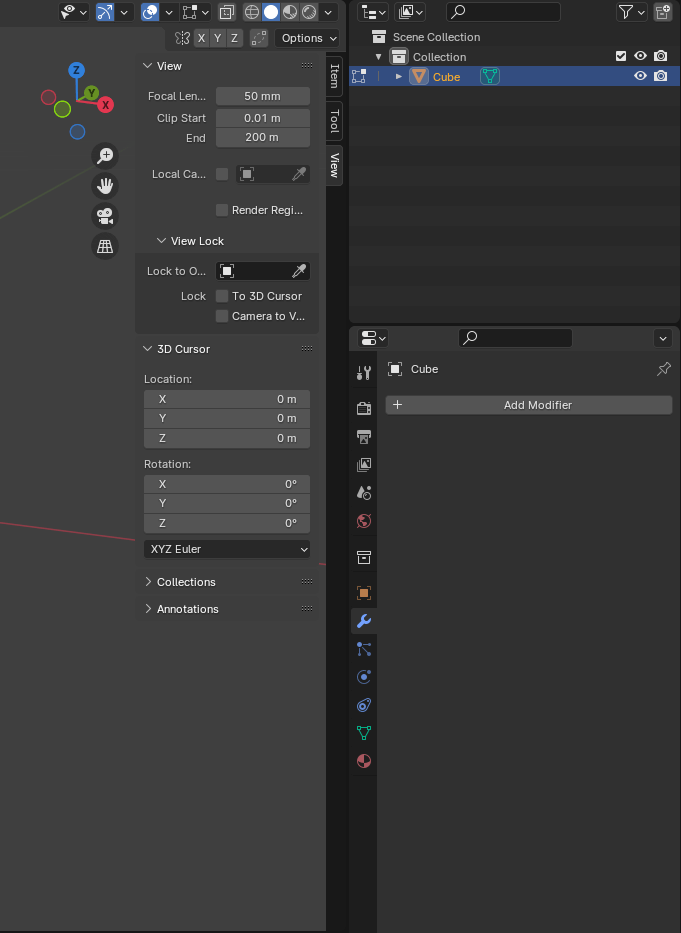
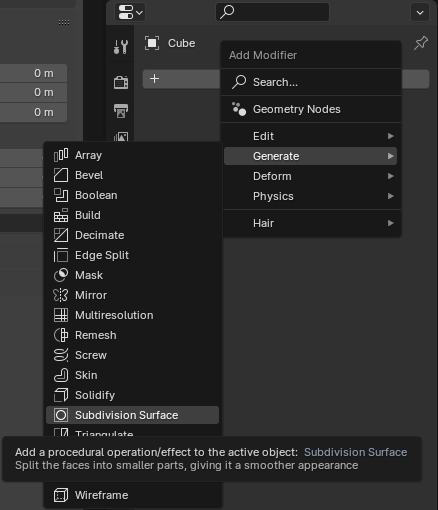
Before that, I added a modifier to the cube that has already been created for me upon creating a new Blender file called Subdivision Surface which allows me to transform the cube into a sphere by adjusting the number of the viewport levels. The higher the number, the smoother it becomes.


I used the extrude tool to stretch out the sphere for the product and disabled the “edit cage” so I can edit the faces of the sphere instead of the faces of the cage.

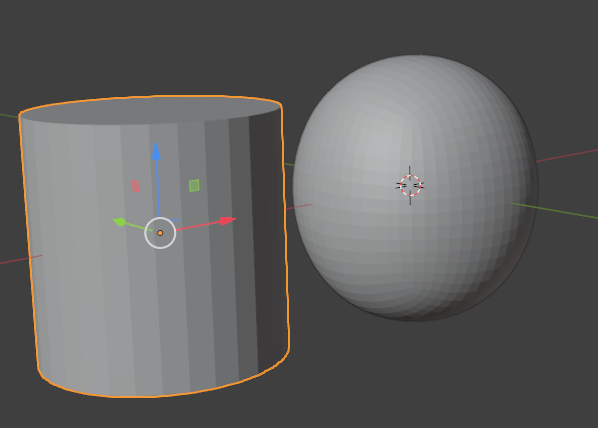

Next, I added a cylinder mesh to create an eye by going into Add -> Mesh -> Cylinder. At first it was too large so I resized it down to fit with the head of the alien.
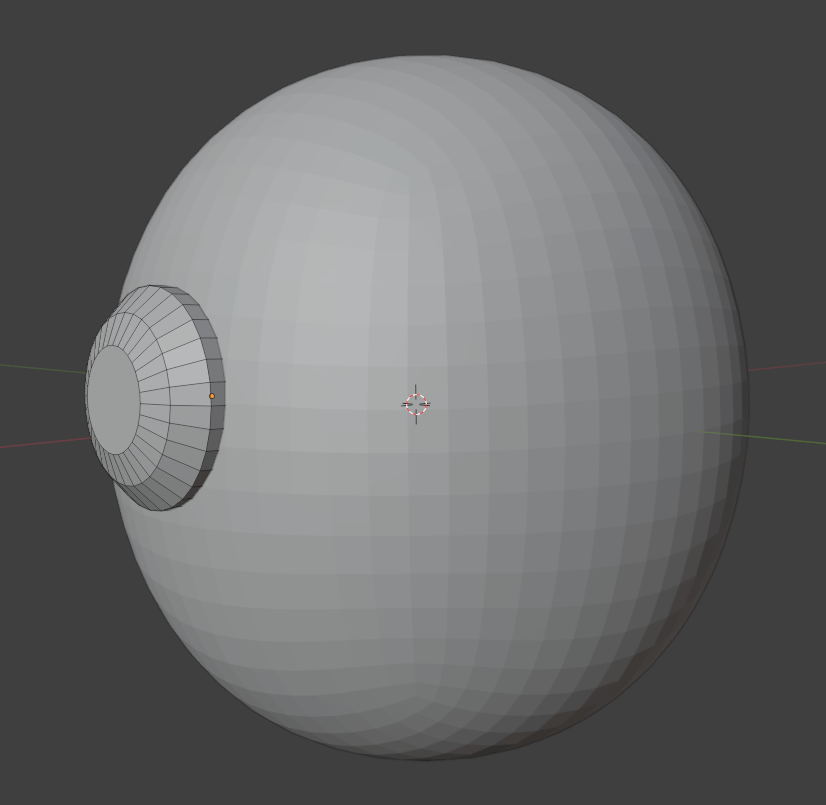

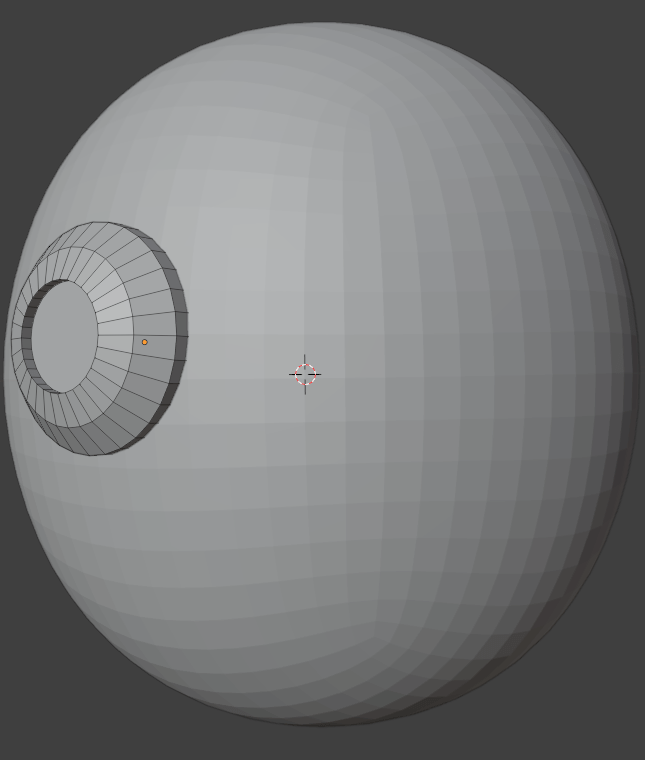
I used the Bevel tool in Edit Mode to transform the shape of the cylinder (alien eye) to flatten it and I can used the Extrude tool to create a hole.

I added another mesh in Object Mode and transformed it using the Scale tool to create the pupil inside of the eye.

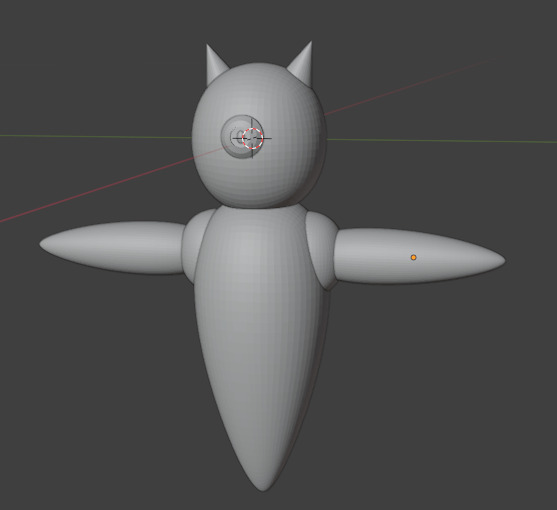

For the horns, I added cone meshes and placed them half way inside of the head and for the other parts of the body, I copied and pasted the head and used the Bevel tool to transform the head to different body parts such as the arms, torso and legs by curving it and flattening them using the Scale tool for the feet.

Lastly, I exported the model from Blender as an .OBJ file since it is a compatible file type for Unreal Engine and I imported the model inside of my environment which resulted in a pop up appearing which includes whether I want to change the mesh into a static mesh and that is what I went for. Afterwards, I began applying some appropriate textures such as metal for the arms, feet and head, and painted the rest of the body parts a different colour so I picked purple to match with the emissive colours from the mothership.
References:

Source: Skyscraper | Definition, Building, History, & Facts | Britannica
