
After recording the A Roll (interviews) and B Roll (panning shots and zoom ins/outs of areas in the main college and university centre) for the promotional video, I launched Adobe Premiere Pro to begin editing some of the footage. As the producer of this project, I made to sure to back up the footage and give my classmates different interviews and videos of students working in class after I choose which of the A Roll and B Roll to edit before everyone gives Tom (the main editor) all of the edited footage before he assembles it on the timeline.
Editing
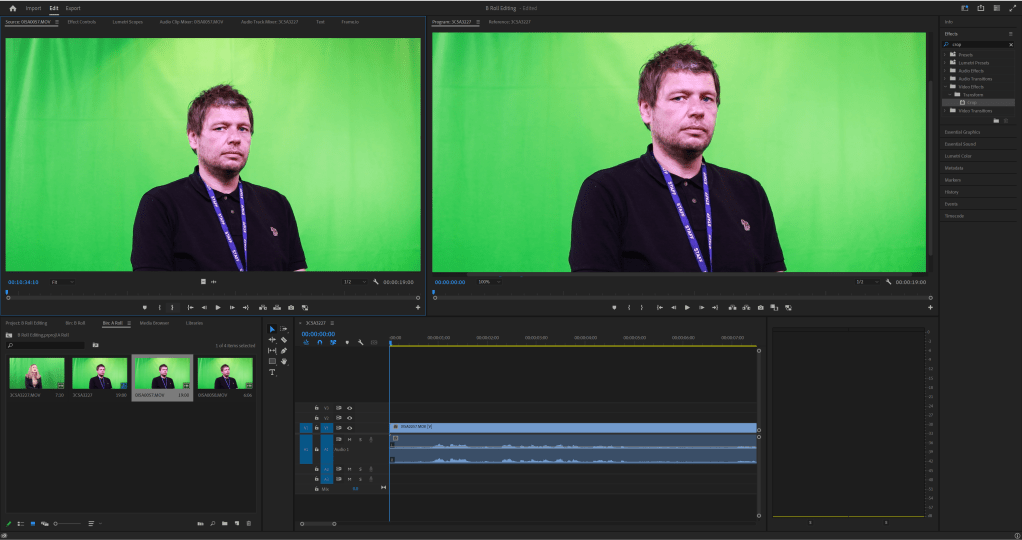
I made a new Premiere Pro project that will be used for editing the best parts of the interviews that I am working on. I created two bins (also know as folders) that separates all the footage into A Roll and B Roll. A Roll will contain the interviews that I have chosen to edit and B Roll will contain the panning shots and zooms of different classrooms, equipment, and signs.
Removing the Green Screen
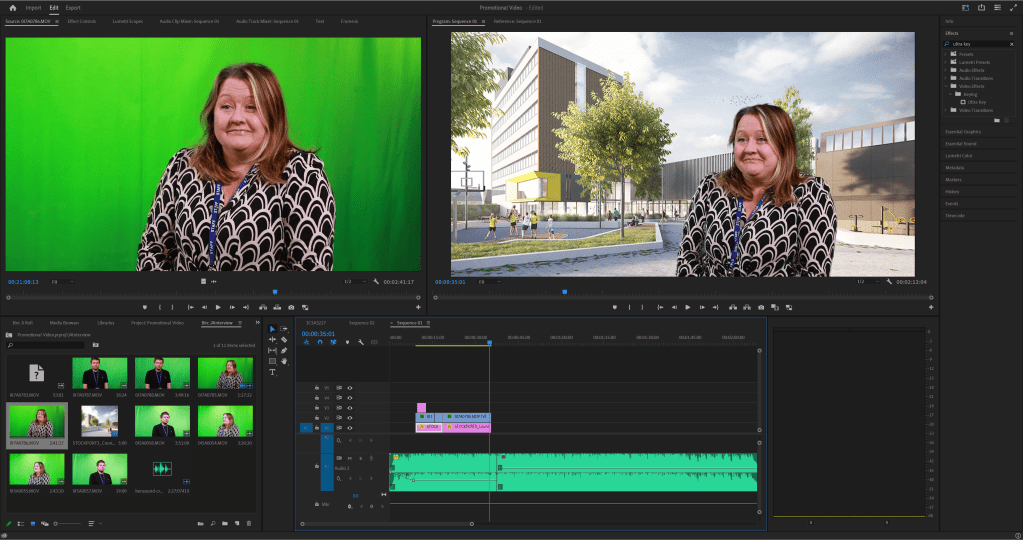
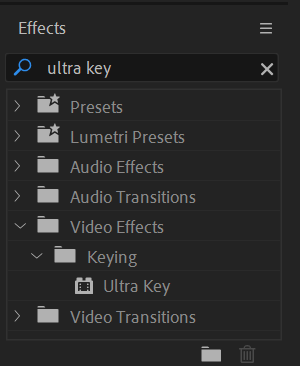
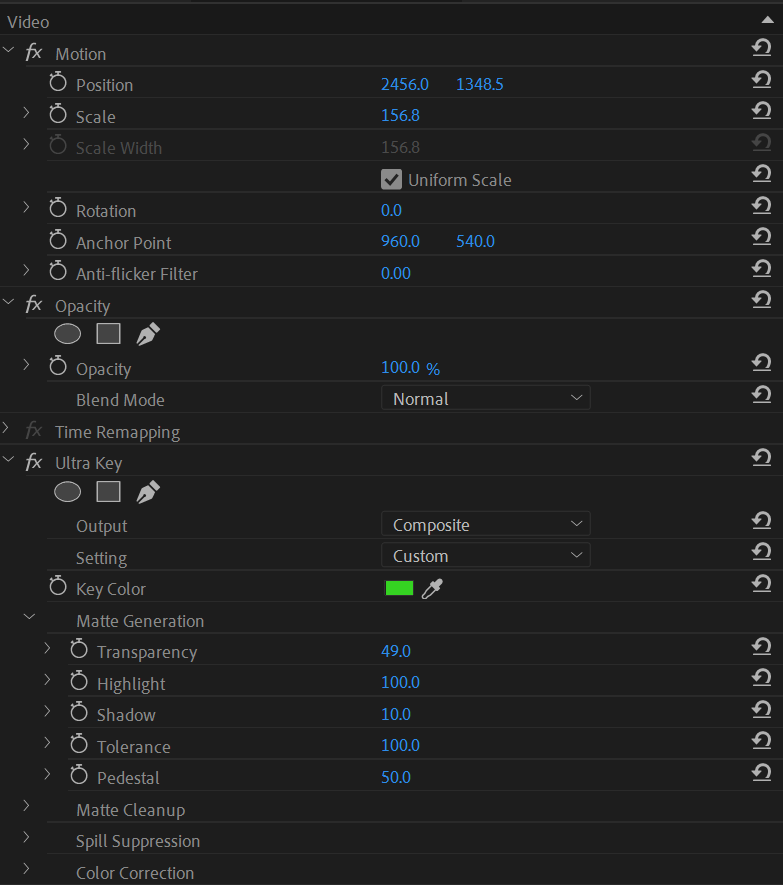
For the interviews, I can edit out the green screen using an keying effect called Ultra Key which allows me to use click on the green screen, remove the colour of the background and replace it with a more interesting background.
Adjusting sound levels
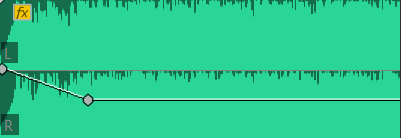
When adding music for the promotional video, the sound levels can be very quiet and this was also an issue for the interviews. I applied key frames on the timeline so I can raise the sound levels for the interviews and lower sound levels for the music when it is overlapped with the voices of the member of staff and students.
Adjusting speed/duration
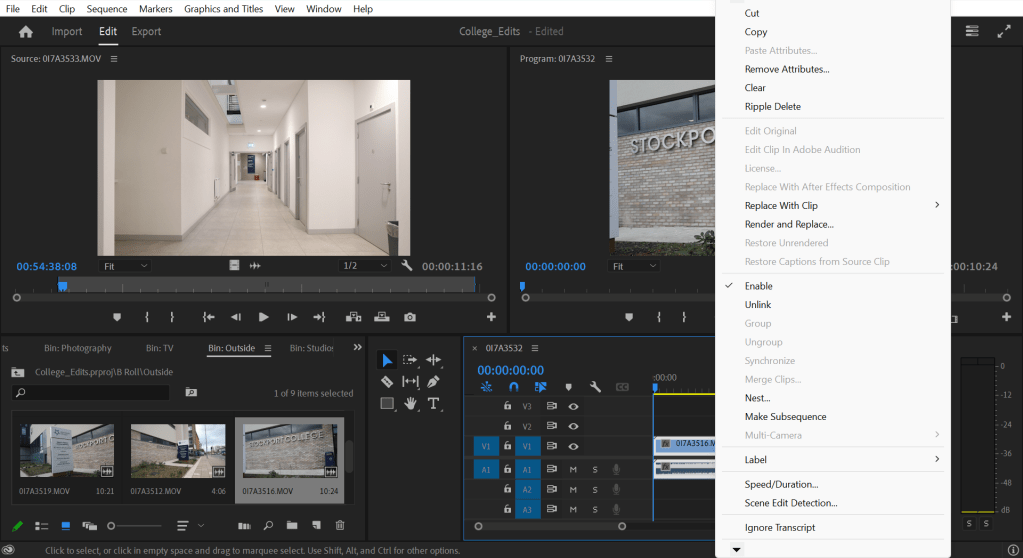
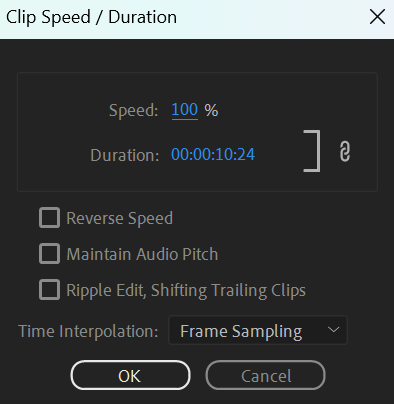
Some footage may be too long as the promotional video is recommended to be at least 1 minute long so I changed the speed/duration by right-clicking on the timeline and selecting “Speed/Duration”. Then I changed the speed to either in between 200% and 400% so I can decrease the duration of some footage to roughly 3 or 5 seconds.
Match cuts
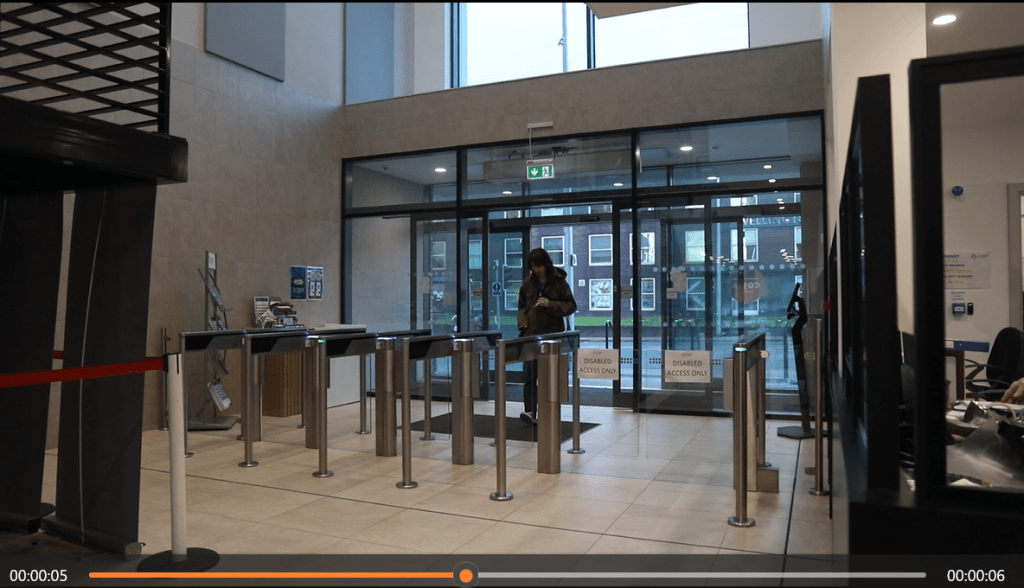
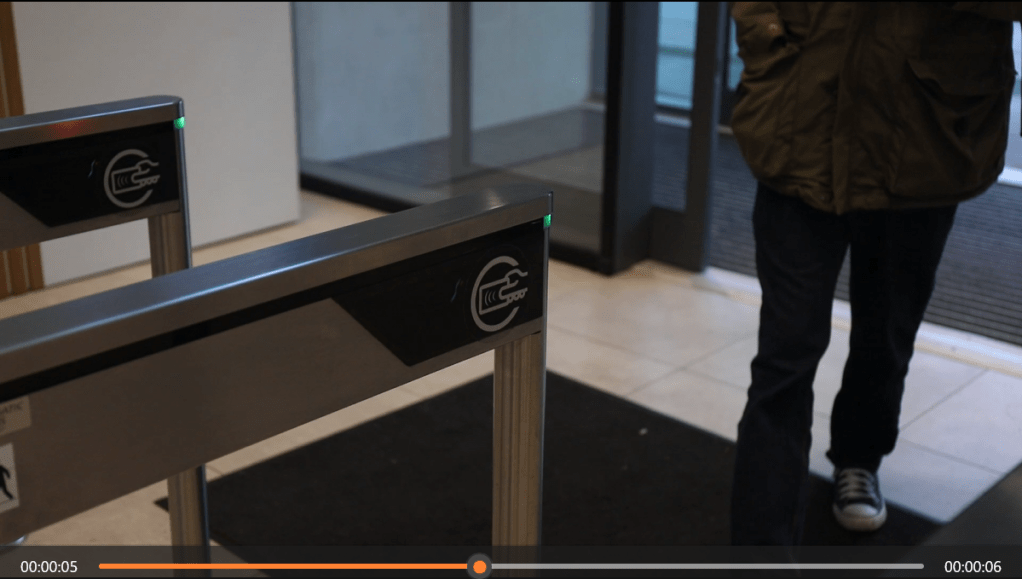
There are also footage that has been filmed at different distances or angles so for this one, I edited the footage from where Oliver has stepped on the carpet so I can cut to a close up shot to where he can place his lanyard on this gate to let himself in. After he leaves this shot, it cuts back to where the first shot was.
Here is the full video of these two shots:
Assembling the promotional video
As of January 2024, I have created my own version of the promotional video because the original promotional video had been put together using footage that has been edited by everybody in the class to give to the editor whose name goes by Thomas (or Tom). For my own version, I have edited the footage that has filmed inside and outside of the college and included some free footage from the website called Pexels.
Here is my version of the promotional video:
To summarise what I have done in this lesson, I have learnt how to remove green screens from B Roll videos by using the Ultra Key effect, how to adjust sound levels (so the sound of music or the voices aren’t too loud or too quiet), and how to adjust the speed/duration of videos.
