
During the half term, I started using DaVinci Resolve to learn about its variety of features that I will need to use, ready for creating the promotional video. After installing the software on my computer, I have looked at tutorials on how to use DaVinci Resolve, starting with an introduction to editing (the images included have been edited to cross out personal information linked to my computer). Here is the process of myself following the tutorial, using the video and audio clips of an interview for Age of Airplanes:
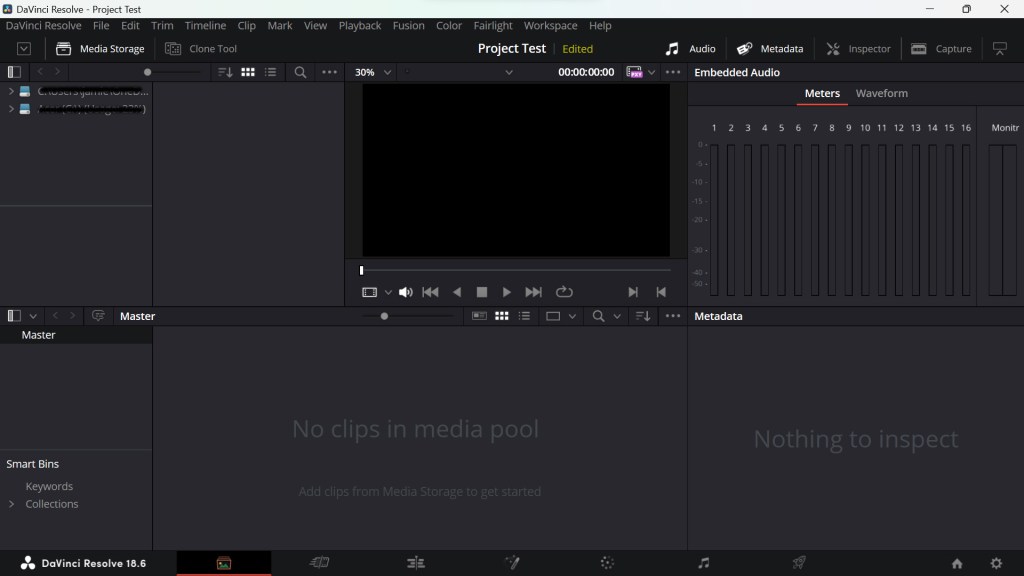
Media: First, I learned that the location of my system storage is in the top left corner of the media tab in DaVinci Resolve where I can access files.

Under my storages, I can create a new storage location for importing videos and audio in a structure that has been preserved and it allows me to create bins when adding a folder and sub folder.

To do this, I highlighted the folders of clips that I want to add into the media pool (in this case, the clips in the audio and video clips are examples to help me learn the first part of the editing process), then right click and select “Add Folder and Sub Folders into Media Pool (Create Bins)”.
DaVinci Resolve will then ask to change the frame rate of the project. I changed the project frame rate to match the frame rate of the audio clips and the video clips. After that, this should automatically add the clips into the media pool along with its folders.
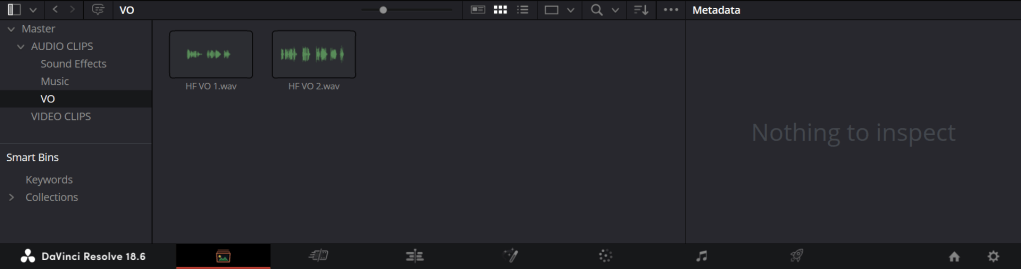
If there are clips that hasn’t already been sorted into the correct folder, I can create a new bin (another name for folder in DaVinci Resolve), so I can sort clips that isn’t already in a folder/bin.
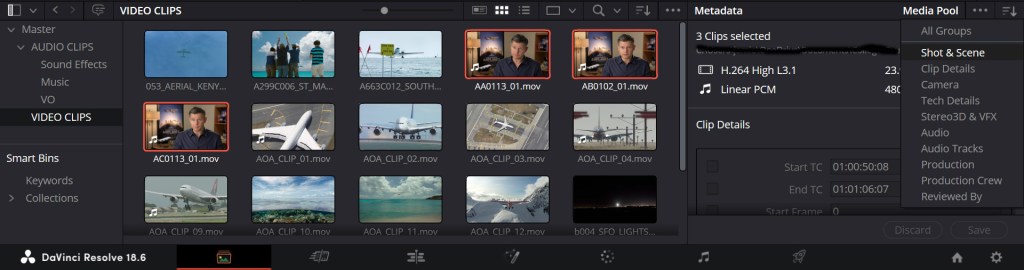
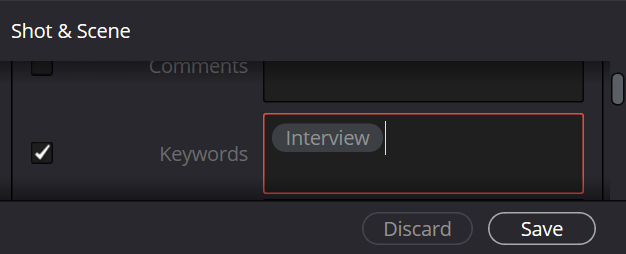
For any video clips, I can sort them by keywords using the metadata from the clips. Next to the three dots, there is a button with three lines and a downwards arrow. I clicked this to bring a list of groups and selected “Shot & Scene”. In the Metadata section, a list is shown and one of the options is the keywords. For three example clips, I keyworded them as “Interview” so then it will appear in Smart Bins in the keywords section. I can repeat this to sort different video clips by keywords.

In the Inspector tab between Metadata and Capture, I can view the metadata of different clips. Here I can import metadata from any CSV file if I need to which fills the Scene, Shot and Take section. To import metadata here, I have to go into File -> Import Metadata To -> Media Pool. This is when I can select a CSV file and uncheck the import option “Match using clip start and end Timecode”. With this I can filter clips by their keywords to create a new smart bin.

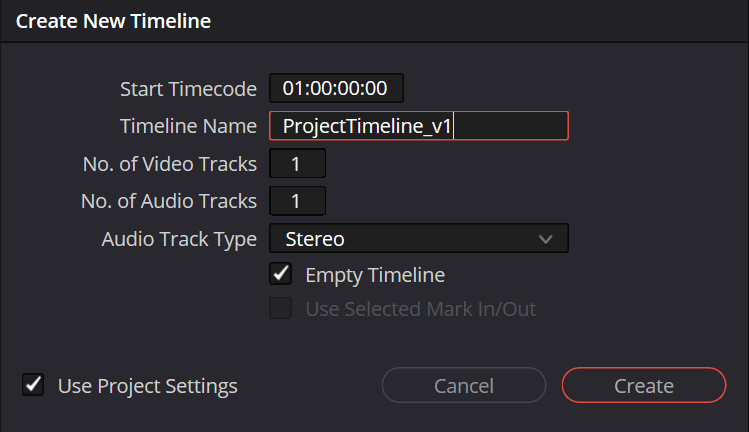
Editing: I created a new bin for timelines so I can assemble the video and audio clips. In this new bin, I created a new timeline by going into File -> New Timeline. In the project settings, I can change the frame rate for the project. However, this has been done already and has been checked by default.
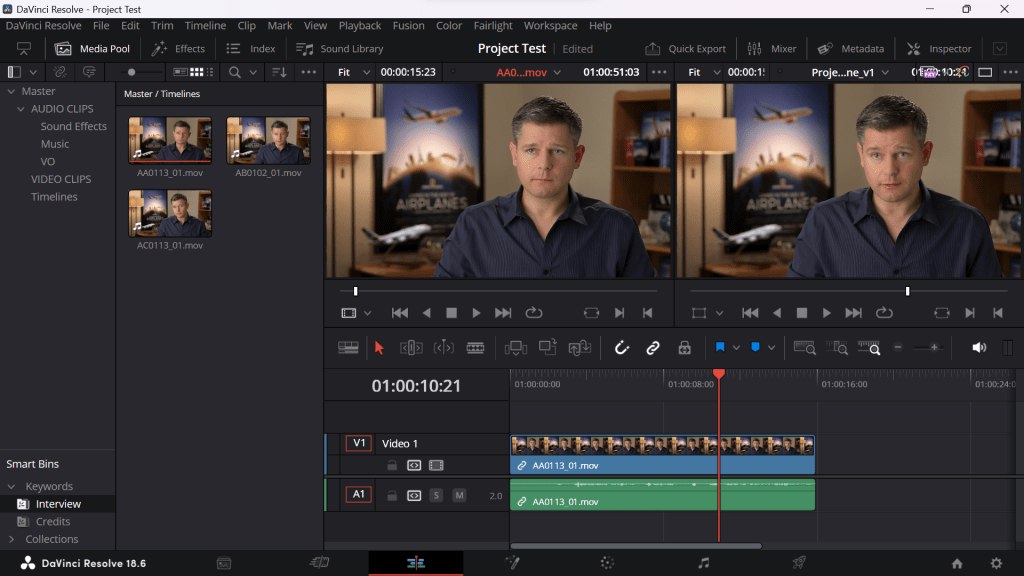
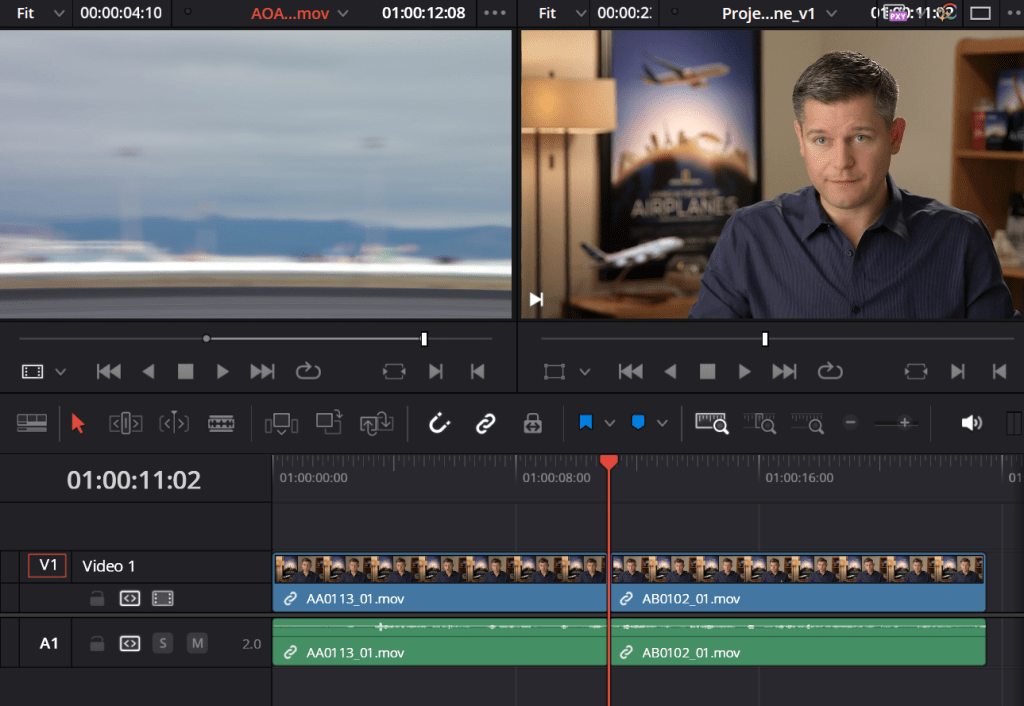
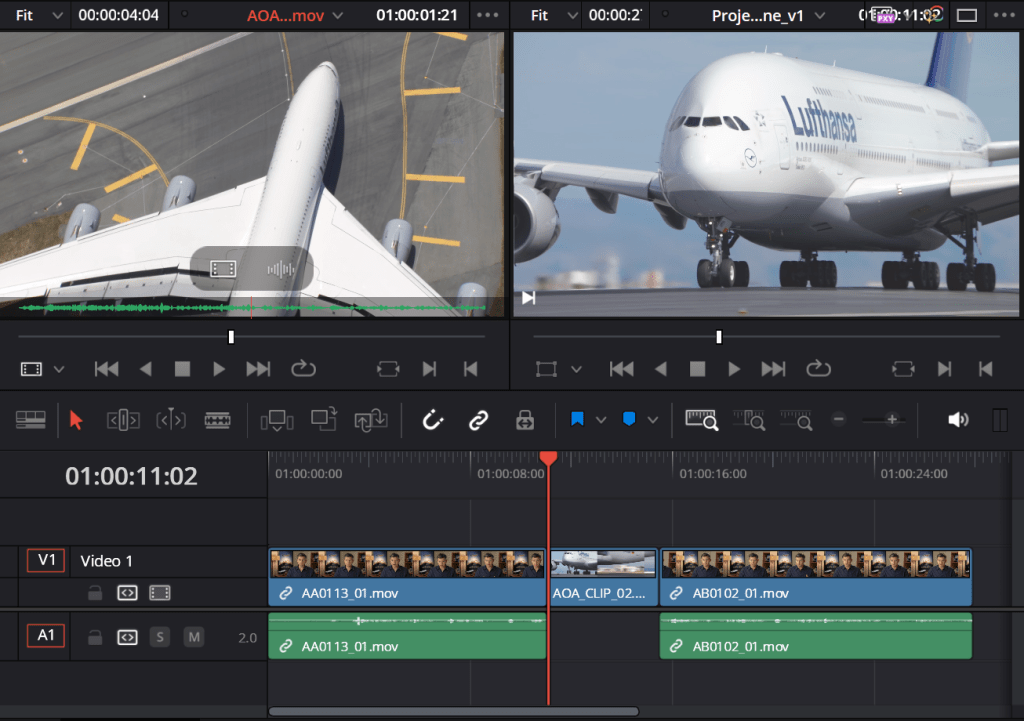
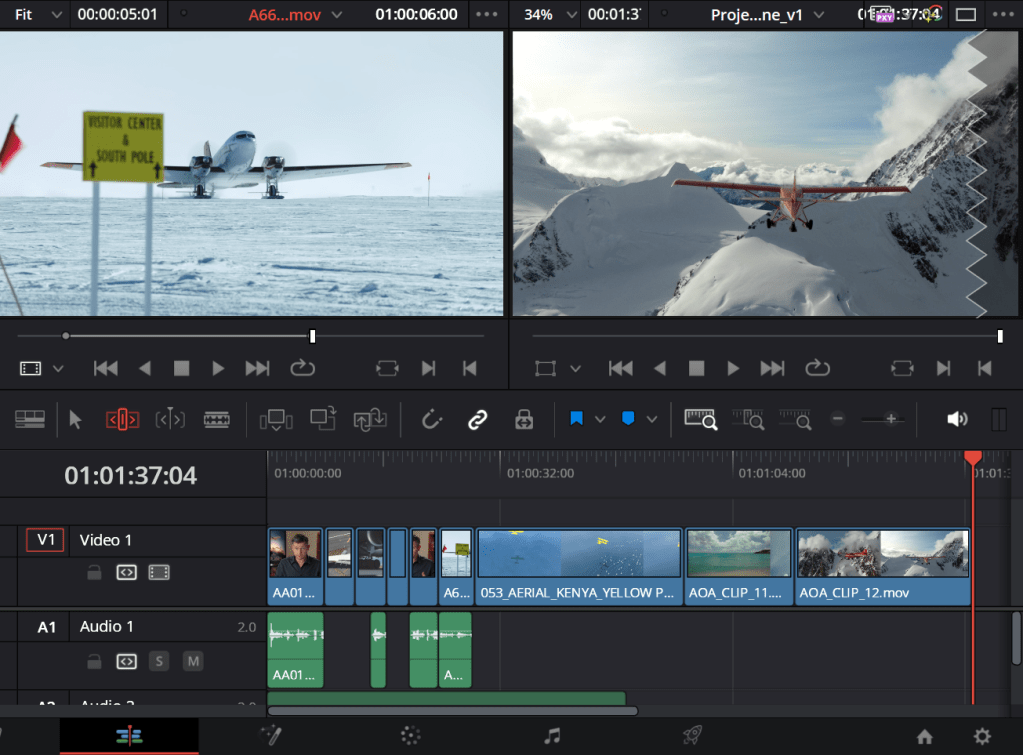
With the interview clips provided from the tutorial, I moved the first clip from the first panel to the second panel which by default gives the option to overwrite which makes it easier to edit the clip rather than simply dragging and dropping it into the timeline since that way of editing is limited.
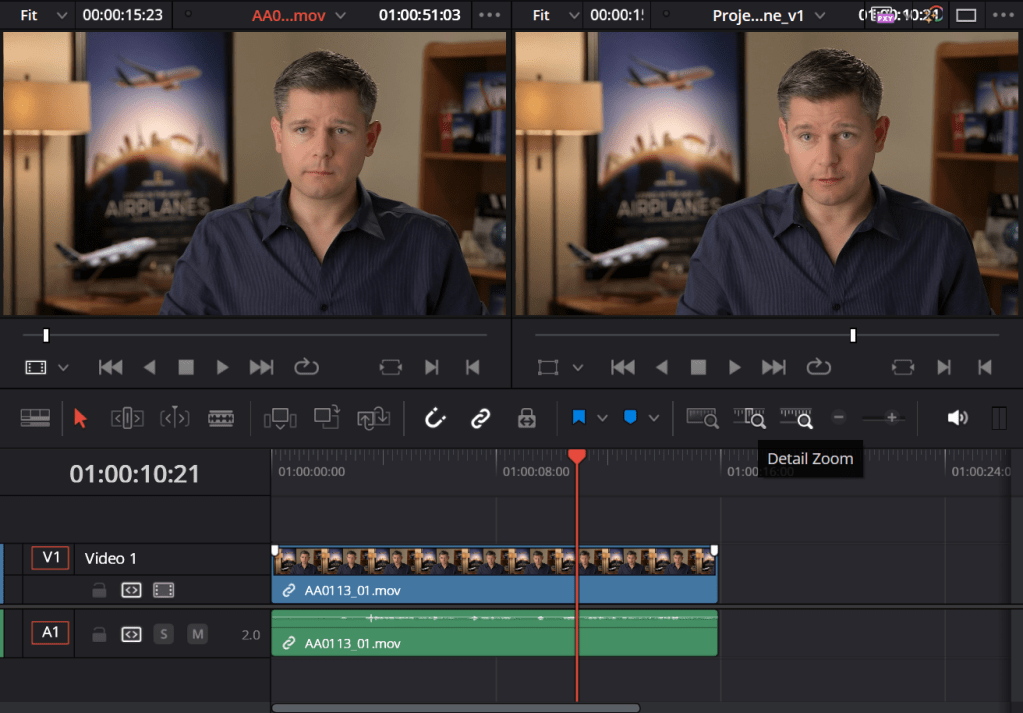
Using the Detail Zoom button, I can zoom into the timeline so I can position the header in between audio and silence and transition to another clip. To return to the full view of the timeline, I can click the Full Extent Zoom button which is left of the Detail Zoom button.
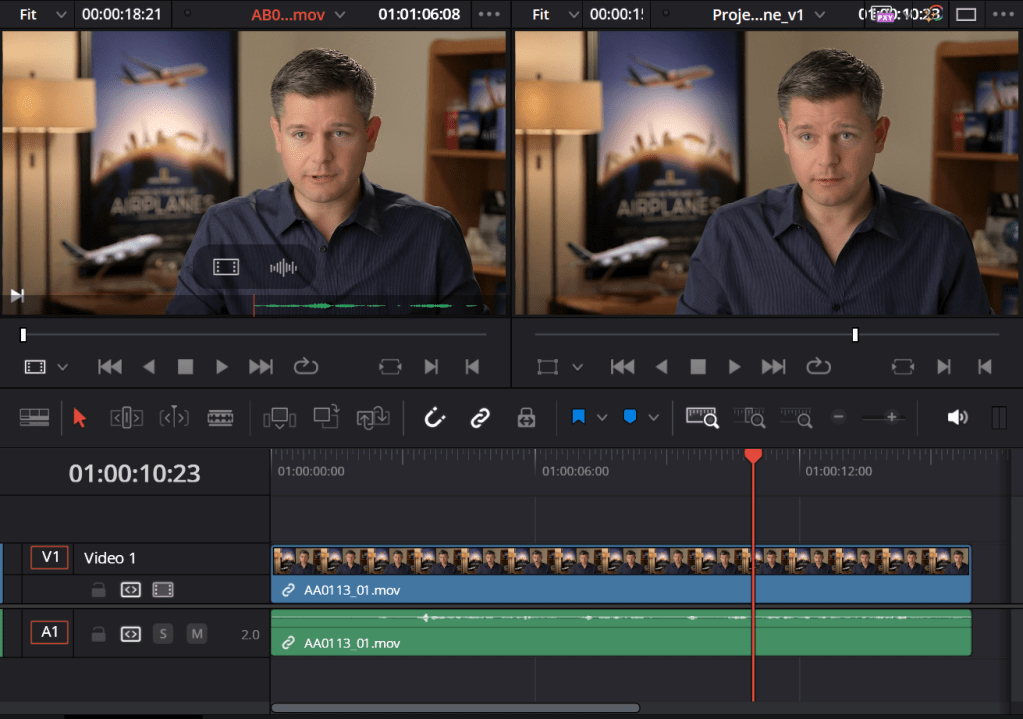
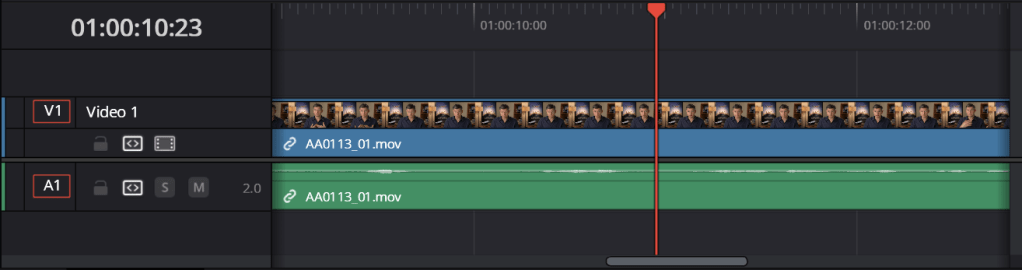
I can also press the three dots next to the timecode to give the options of showing audio waveforms either zoomed in or in full view in order to get part of the clip that I need. Not only that, I can use the “I” key and “O” key on the keyboard to cut parts of the waveform out that I don’t need and the shift key combined with either the I or O key to go to the beginning or end of the cut. When the clip is paused, I can hold the K key and use either the J key or L key to slowly move.
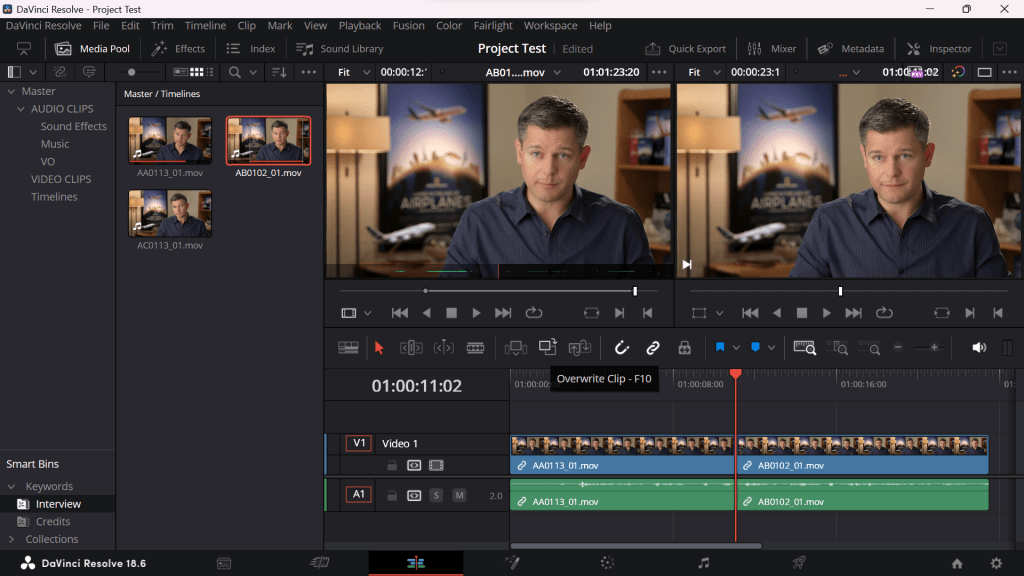
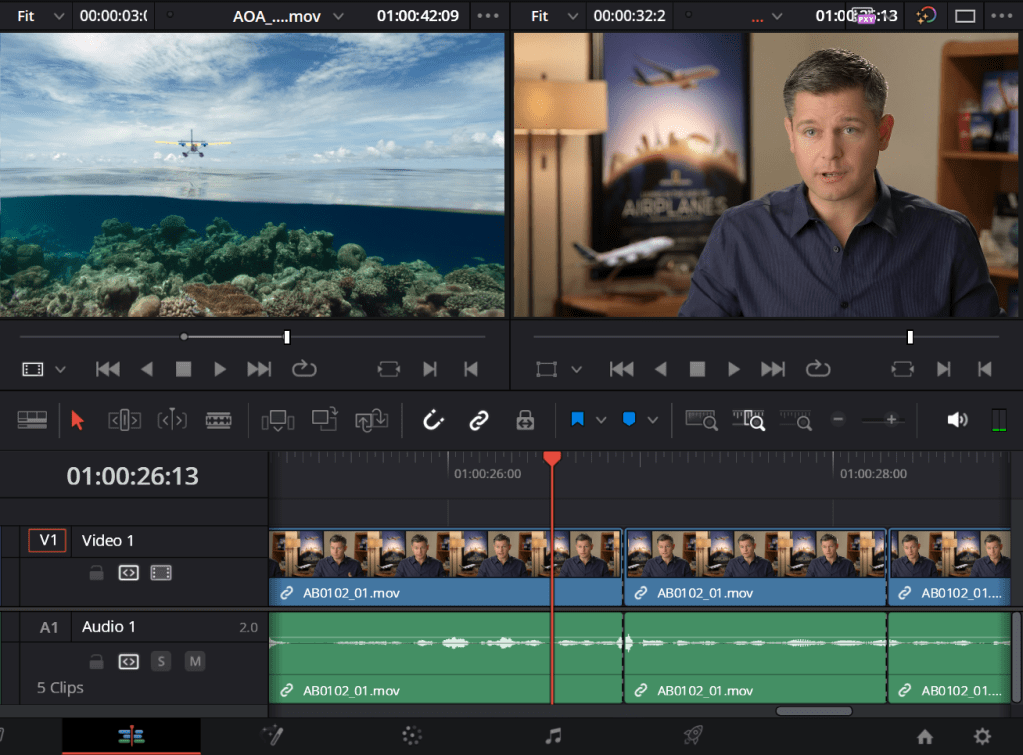
After the second clip has been edited, I can click Overwrite Clip or F10 to paste in the second clip where the red header is in the timeline.
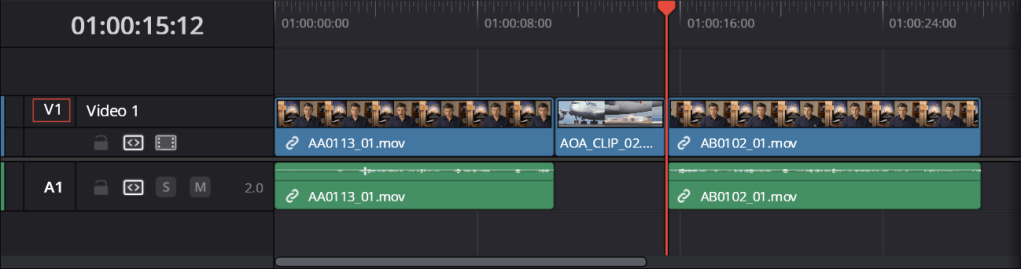
Since the first two clips are close together, I repeated the process of cutting out parts of another clip by pressing the I and O key, and instead of overwriting the clip on the timeline, I inserted the new clip in between the interview clips.
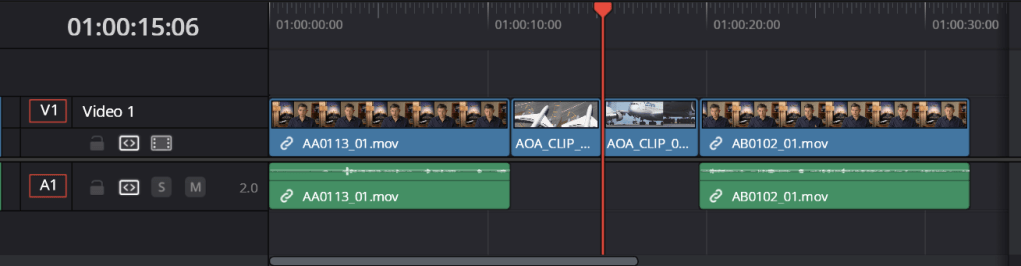
Next, I can insert another clip but without the audio. Above the waveform, there are options to edit the image or the audio itself. In this case, I clicked and dragged the image option to the Insert option above Overwrite which should insert the image without the audio into the timeline.
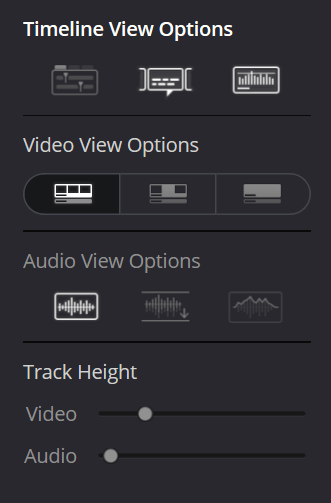
If I wanted to, I can adjust the track height of videos and audio by going into the Timeline View Options.
To delete a video without the audio clip linked with it, I can hold the Alt key and click the video, then hold Shift and the press the delete/backspace key.
To edit out any audio along with the video, I need to use the Blade Edit Mode which allows me to click on the header to cut the video and audio where I have placed the header. Instead of holding the Alt key, I can just click the part that I don’t need anymore and I can use the Shift and Delete/Backspace key to delete the unwanted parts.
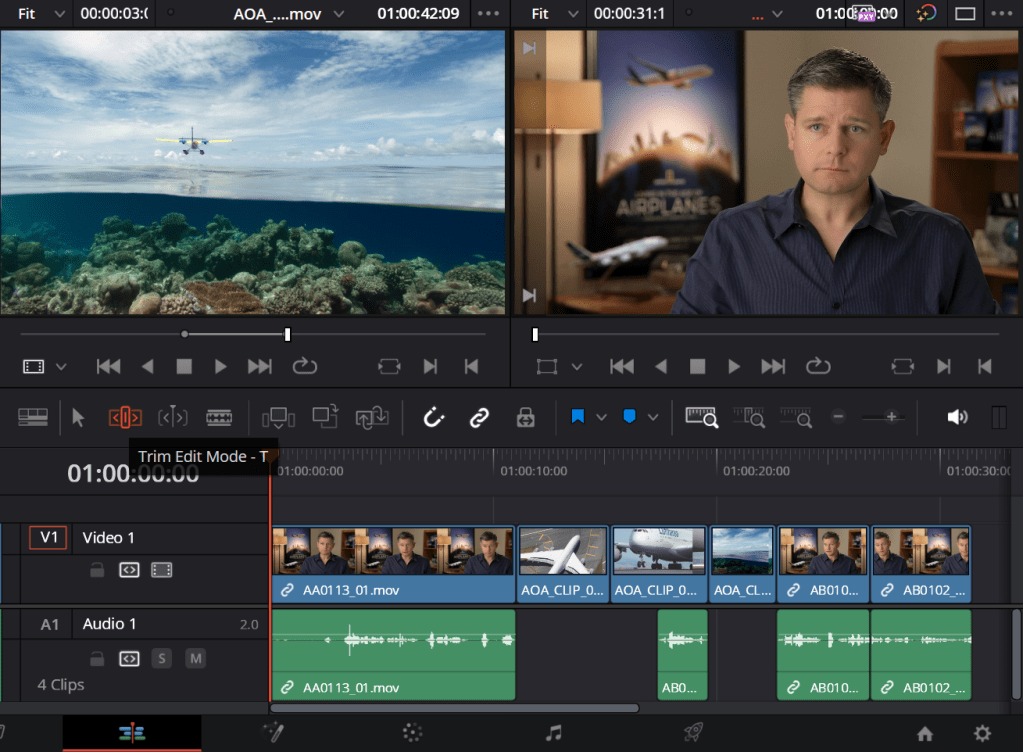
The interview doesn’t start straight away until a few seconds into the timeline, so with the Trim Edit Mode, I can remove part of the video and audio to get a sharper start.
Using the comma and period keys, I can add/remove frames to correct any editing mistakes to make it more smoother.
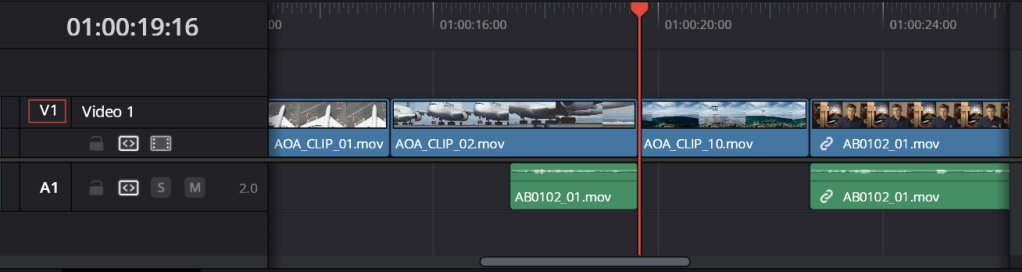
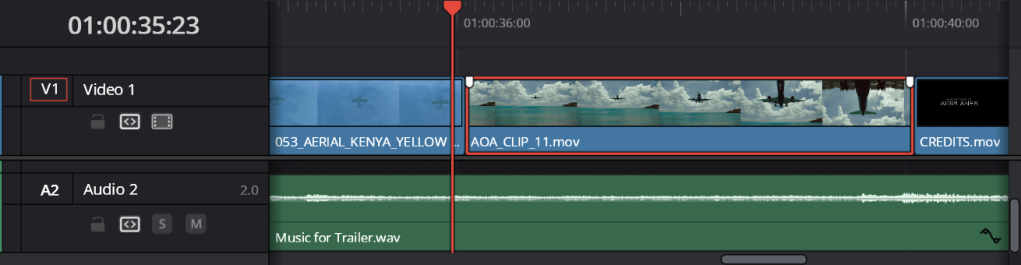
For the music, I placed this on top of the timeline (in reality it goes below the first audio track) rather than inserting it or overwriting it in the timeline. As for the cut from before, I can overwrite it with a different clip so the transition is better which works with the edited audio from the interview.
I added more clips just like the tutorial and rather than inserting straight into the timeline by dragging and dropping them, I selected multiple clips at once using Ctrl and then I dragged it over to the edit option that is called Append at End. This puts the clips at the end of timeline regardless of where the header is at in the timeline.
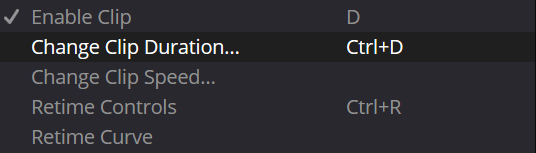
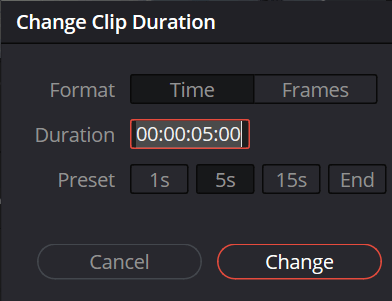
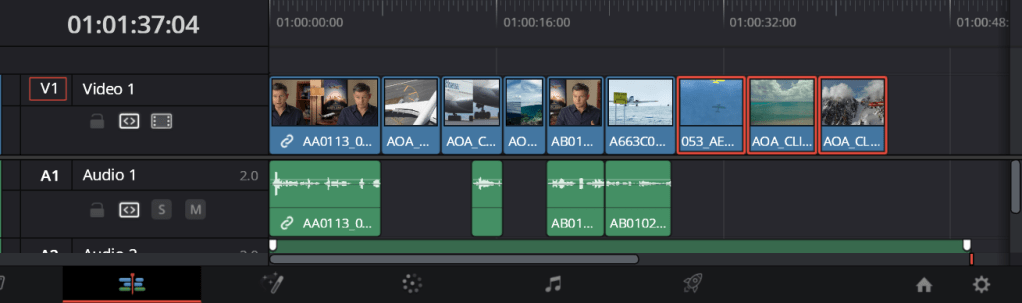
Now I can change the duration of the clips by selecting the clips, right clicking on any of them, then click “Change Clip Duration”. For example, I can change it to 3 seconds or 5 seconds since the video clips are too long.
I’ve also learnt that I can shuffle different video clips without it overwriting one another if I were to drag one clip onto another. To shuffle the video clips, I have to select one clip, then hold Shift and Ctrl together and press the comma or period key to shuffle left or right.
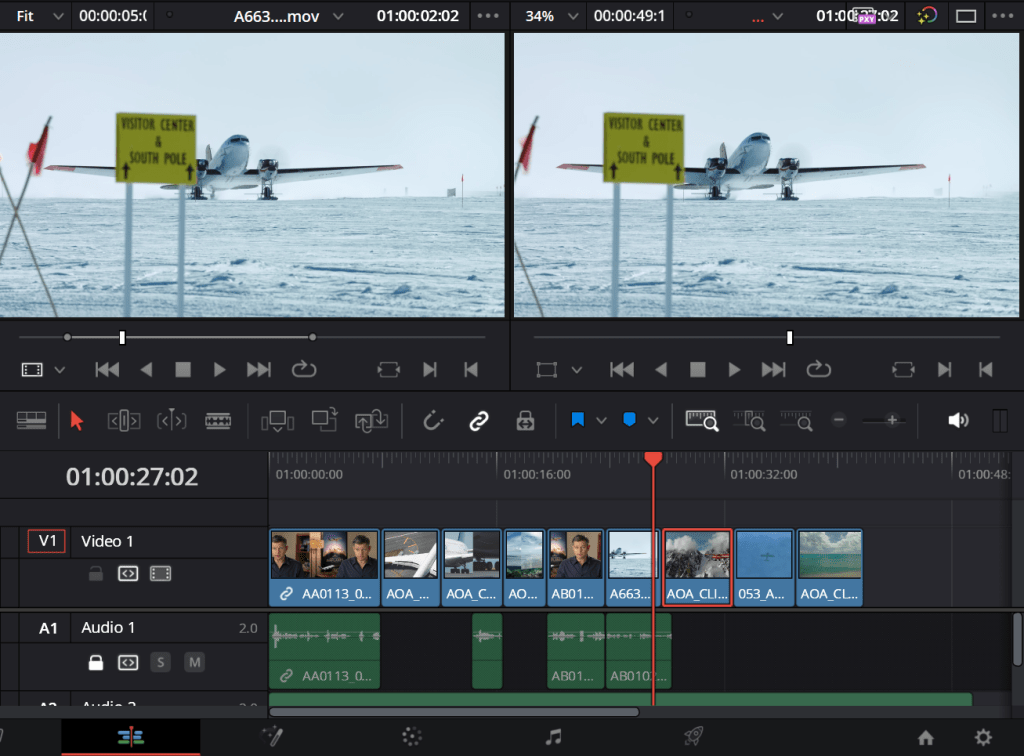
To change part of a video without cutting it out, I can click the upper part of the video and drag left or right to change the thumbnail.
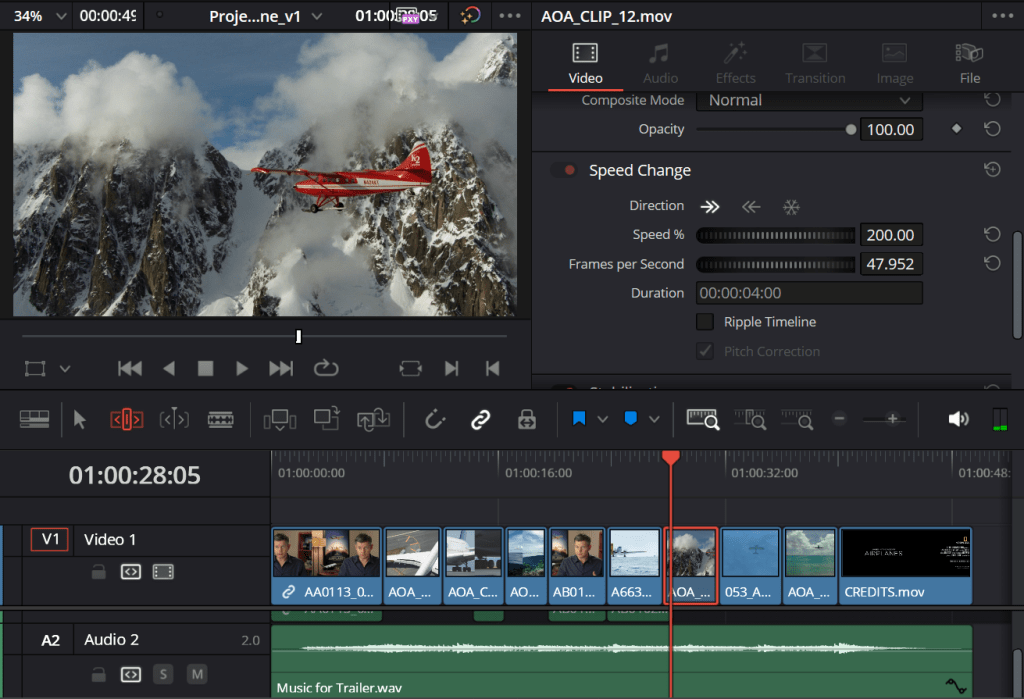
To change the speed of a video clip, click Inspector and scroll down until there is “Speed Change” in the list. Since there was barely any movement in this clip, the percentage was changed to 200% rather than 100%.
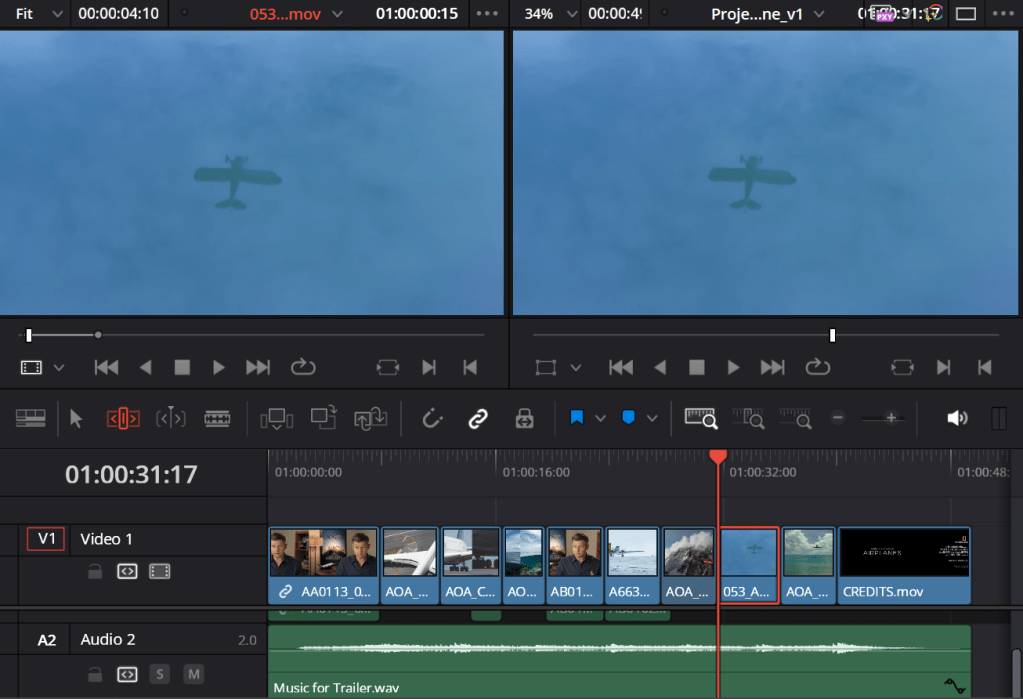
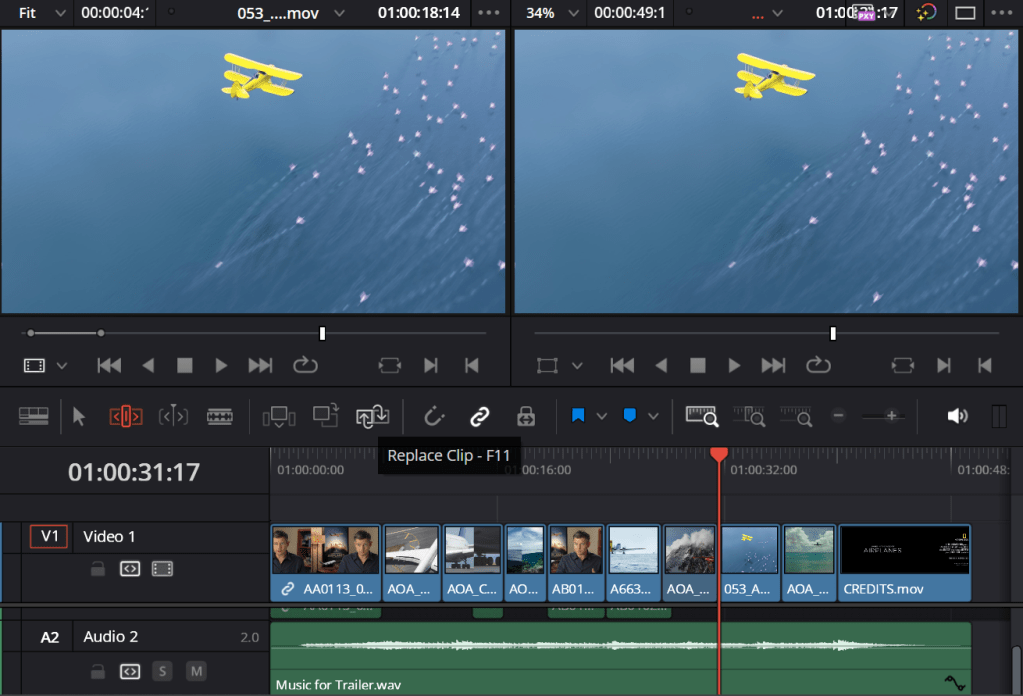
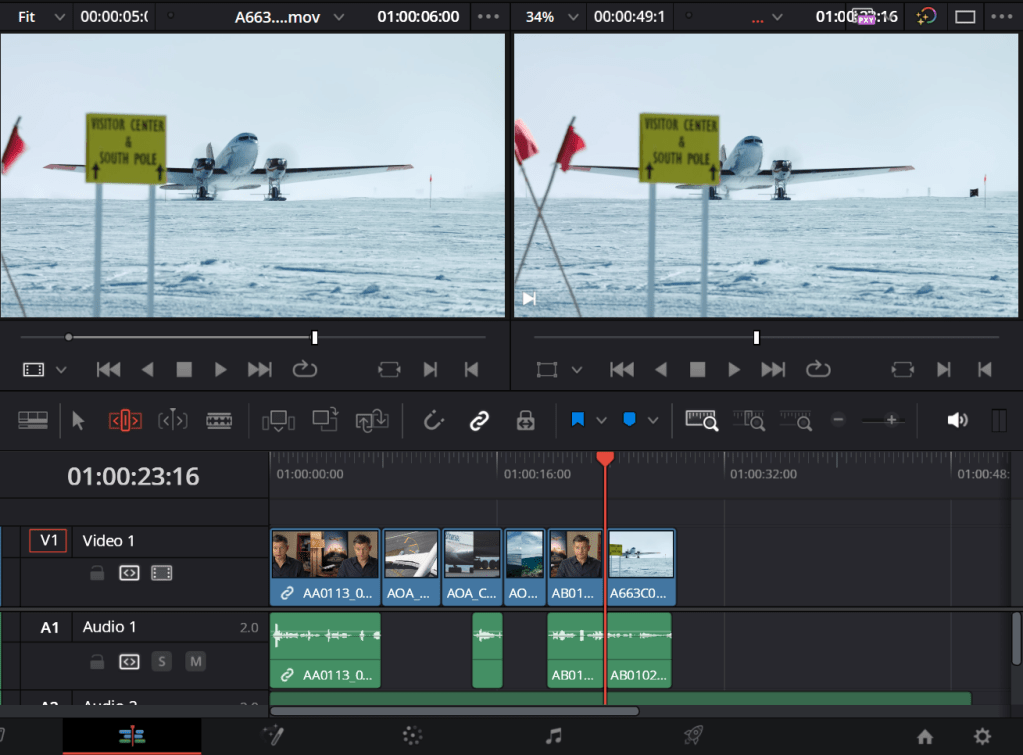
To view the original cut of the video side by side to its edited version, I clicked the F key so I can scroll through the video and replace it using the F11 key or the Replace Clip button.
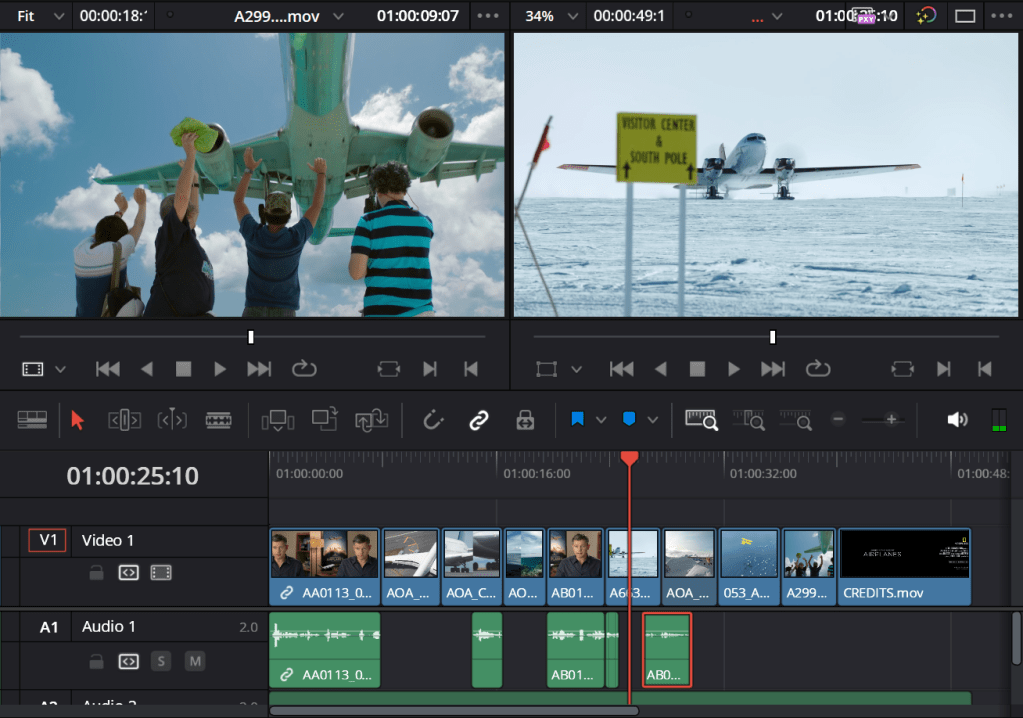
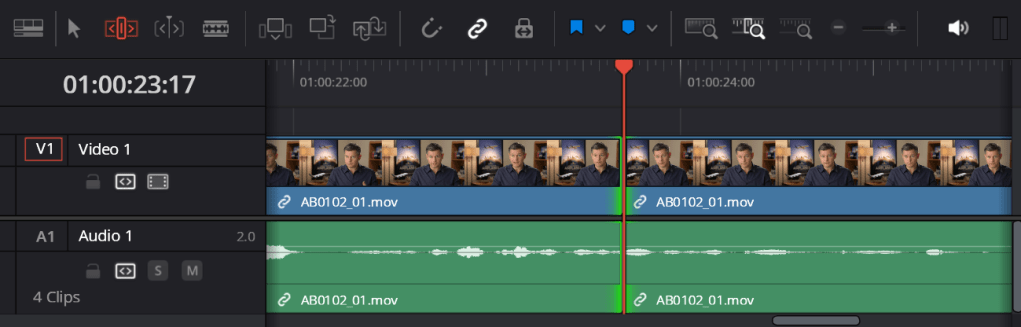
To split any audio clips, I used the Ctrl and B key. This allows me to move the audio clips further into the timeline.
Here is where the tutorials/training videos can be found: DaVinci Resolve 18 – Training | Blackmagic Design
